Posted in 2022 January-June Stampin' Up!® Mini Catalog, Birds, Designer Series Paper, Gratitude/ Thanks, Nature, Outdoors

Stampin’ Up!® On the Horizon #SimpleStamping Thank you card

Good day fellow card makers, stampers and crafters! I have a series of beautiful #SimpleStamping cards for you! I will show you the first one today.

The New Horizons Designer Series Paper really makes the card for you. And they turn out to be stunning cards!

What do you “see” in your minds eye when you look at this fabulous paper?

I saw a sunset scene. This scene is so peaceful and serene for me. All I did was to use the On the Horizon stamp set to add the birds and trees using Polished Pink Ink.

Measurements

On the Horizon #SimpleStamping Thank You Card

  • Polished Pink Card Stock (CS) card base: 5 1/2 x 8 1/2 inches with a score line at 4 1/4 inches.
  • New Horizons Designer Series Paper (DSP): 4 x 5 1/4 inches. Save a strip to use on the inside panel.
  • Basic White CS: 4 x 5 1/4 inches.

Ink: Polished Pink and Evening Evergreen

Stamping

First stamp the birds from the On the Horizons stamp set in Polished Pink Ink. Follow by stamping the trees. Stamp Off once for the trees on the left. Use Evening Evergreen Ink for the sentiment “Thanks for Everything”.

Adhere a strip of the New Horizons DSP to the left side of the 4 x 5 1/4 inch Basic White CS. Stamp the birds over the top. Adhere the front and the inside panels to the Polished Pink CS card base.

Voila! That is it! So simple and yet so fabulous! The New Horizons DSP is simply amazing!

Supplies

Product List

Thanks for stopping by today! Have a wonderful crafty day!

Theresa

Stampin’ Up! Promotions

Joining Special

Earn 2 FREE stamp sets of your choosing when you sign up to be a Stampin’ Up! demonstrator. Choose $125 of product for your Starter Kit and pay only $99 before shipping and handling! Join HERE. Contact me for more information at theresastreasures.az@gmail.com.

Paper Pumpkin Subscription

Don’t monkey around and miss this amazing adventure! Unleash your creativity with February’s wildly fun kit!

Answer the call of the wild—and your creativity—with the Safari Celebration Paper Pumpkin Kit. This playful, party-themed kit includes all the goodies and gear you need to create nine cards and coordinating envelopes in safari-inspired shapes and patterns you’ll go wild for! Make every occasion a celebration with this month’s amusing animals, beautiful botanicals, and celebratory sentiments.

Paper Pumpkin is a subscription kit. You earn FREE product when you order a pre-paid code from my Online Store. A pre-paid code will be sent in an email. Next, go to my Paper Pumpkin sign up and enter the code. You will get this Safari kit if you do so by February 10, 2022.

Paper Pumpkin Codes:

• 3-Month Prepaid Paper Pumpkin Subscription [137859] $63.00 : —https://bit.ly/3qin54v

• 6-Month Prepaid Paper Pumpkin Subscription [137860] $114.00:–https://bit.ly/3njb4tE

• One year Prepaid Paper Pumpkin Subscription [137861] $220.00:–https://bit.ly/3zNjj66

You will get an email with the Pre-paid code. Then you will go to: https://bit.ly/subscribeTheresasTreasuresPaperPumpkin and enter the pre-paid code to start your subscription! Shoot me an email with any questions

Celebrate Diversity

Lots of fun with diversity is coming on February 1, 2022. The All Together set will include 10 Stampin’ Blends for a range of skin colors. The images in the stamp set will celebrate diversity. Watch for more information on this fabulous set!

Get this FREE Creative Download from Stampin’ Up! for more on the celebration of diversity.

Thank you for your attention. If you need any assistance with your order please email me at theresastreasues.az@gmail.com
Posted in 2022 January-June Stampin' Up!® Mini Catalog, Gratitude/ Thanks

Bruno & Kylie Bertucci’s Demonstrator Training Program Blog Hop-January 2022-Stampin’ Up!® Amazing Silhouettes Thank You Card

Thank You

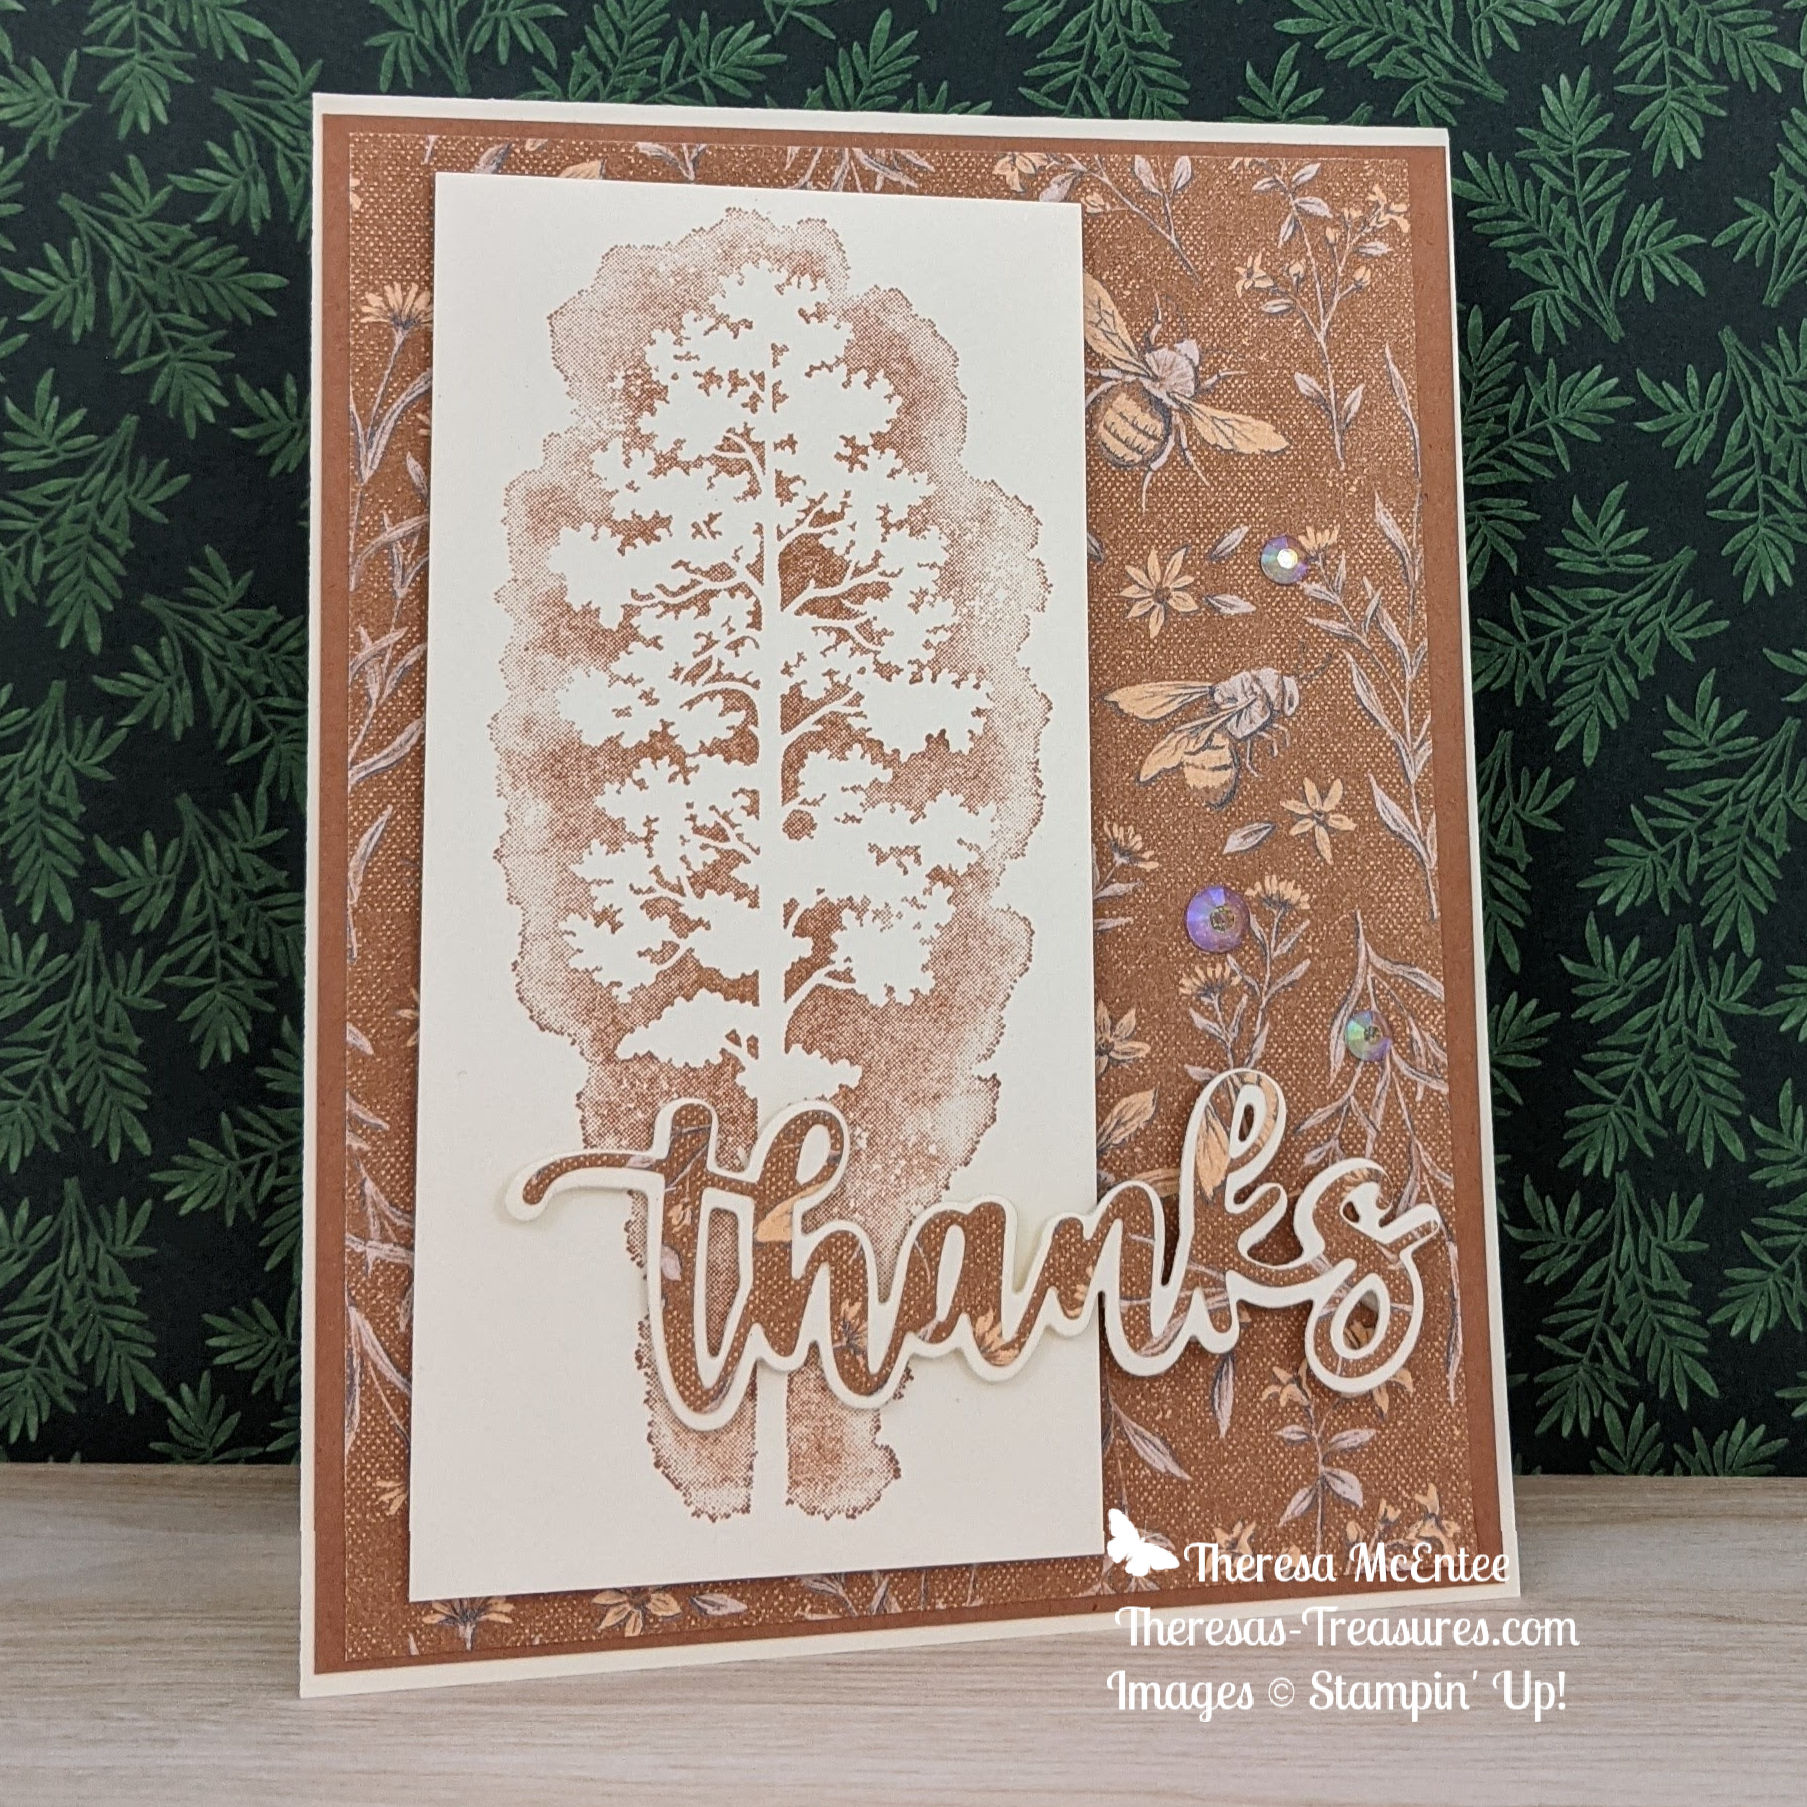
Thank you for joining me for our first Stampin’ Up!® Demonstrator Monthly Team Blog Hop by Kylie and Bruno Bertucci for 2022! I am excited that you could join us today because I know you will get lots of ideas and creative inspiration to bring into the New Year! My Amazing Silhouettes Thank You Card is made using the Amazing Silhouettes and the Amazing Thanks Dies.

Stampin Up Amazing Thanks Dies, Awesome Silhouettes stamp set and Heart & Home Designer Series Paper make lovely thank you cards.

I belong to a group of Stampin’ Up!® Demonstrators from around the world that are taking part in training that is helping us to build a successful Stampin’ Up!® business. I am a Demonstrator in Arizona, USA. If you are not already an amazing demonstrator, or do not have a fabulous demonstrator and live in the USA, I would love to be your most awesome demonstrator! I really appreciate your support. Also, be sure to visit all the different blogs and see all the inspiring creations!

The theme for the cards today is: Thank You. I have many customers who support me and I like to send them a thank you card every once in awhile. The following set of cards is for my fabulous customers, which I will be sending to anyone who orders during the month of January 2022. You may order HERE. And if you join my Stamping Gems Team this month I will also send a FREE pack of the In Color Jewels!

For this card I chose to use the Iridescent Rhinestone Basic Jewels for the Bling! The cool thing about the Iridescent Rhinestones is that they take on the color around them. So on green paper there is a blue and green sheen!

Thanks for joining me today on this Blog Hop. Be sure to visit the other blogs. You are currently at Theresa McEntee-USA.

Supply List

Product List

Thank you for you!

Theresa

Posted in 2022 January-June Stampin' Up!® Mini Catalog, Gratitude/ Thanks

Kylie Bertucci’s Top 10 International Blog Highlight Winners- Stampin Up!® Tulip Fields Thank You Card

I am so excited and thankful to be part of the Top 10 Winners Hop from Kylie Bertucci’s International Blog Highlight! Thank you to everyone who voted for my card from December’s International Blog Highlight, allowing me an opportunity to post on the Winners Hop. Ten fabulous demonstrators from around the world will be posting today! The theme for the card today is “Thank you”.

The “Thank You” sentiment I used is one of my favorite fonts. It is from the Pansy Patch stamp set.

I used the Masking Technique to get the thin rows of tulips in different colors. I also masked the windmill. The Blending Brushes take a while to get used to. I am just now feeling that the sky turned out the way I like it.

I used the White Stampin’ Chalk Marker to make the clouds appear more fluffy. The windmill was colored with Stampin’ Write Markers in Gray Granite, Crumb Cake and Balmy Blue.

Thank you so much for stopping by today! Have a wonderful day! Please visit all the rest of the Winners Blog Highlights!

Supply List

Product List

Thanks for stopping by today!

Theresa

Posted in 2021-2022 Stampin' Up! Annual Catalog, Designer Series Paper, Fun/Fancy fold card, Gift Card Holder, Gratitude/ Thanks, Snowflakes, Winter Holiday

Stampin’ Up!® Snowflake Wishes Thank You Fun Fold Friday Gift Card Holder

Still looking for a gift for the Holidays? Consider giving a gift card in a thank you note! This Snowflake Wishes Thank You Fun Fold Friday Gift Card Holder is a great gift for anyone who helps you out on a regular basis. For example, the young man who mows your lawn, the housekeeper, the bank teller, the mail/package delivery person, the grocery clerk- you get the idea. Everyone loves to be appreciated, especially during the holidays!

Measurements

Snowflake Wishes Fun Fold Friday Thank You Card

  • Gorgeous Grape Card Stock (CS): 4 1/4 x 11 inches scored at 2 1/2 and 5 1/2 inches and 2 3/4 x 4 inches.
  • Highland Heather CS: 4 x 6 inches.
  • Basic White CS: 2 1/2 x 3 3/4 inches and 4 x 5 1/4 inches.
  • One Wonderful Snowflake

Links to the supplies are listed at the end of this blog.

Stamping Your Own Designer Series Paper (DSP)

Start out by stamping the largest snowflake in Highland Heather Ink onto the 4 x 6 inch Highland Heather CS. Then Stamp Off once when stamping the next to the largest snowflake.

Next use the Gorgeous Grape Ink and the medium sized snowflakes to stamp in the empty spaces.

To finish this card piece, stamp in Misty Moonlight Ink using the group of tiny snowflakes. This may not look great at this point, but when it is cut up and adhered to the card it will look fantastic!

More Stamping

The next step is to stamp the front of the card. Start by using the Misty Moonlight Ink to stamp the sentiment “Thank You Snow Much” onto the 2 1/2 x 3 3/4 inch Basic White CS. Then Stamp Off once using the largest snowflake with Highland Heather Ink. Using the next to the largest snowflake, stamp at full strength using Highland Heather Ink.

Use the Gorgeous Grape Ink to stamp a medium sized snowflake around the edges.

Finish this card piece by stamping the group of medium snowflakes in Misty Moonlight Ink.

Use the Misty Moonlight Ink with the group of medium snowflakes to stamp around the upper left-hand corner of the 4 x 5 1/4 inch Basic White CS. This will be the inside of the card.

Assembling the Snowflake Wishes Thank You Gift Card Holder

The first step is to cut up the DSP that you made. Cut at 2 1/4 inches and 3 1/4 inches.

Fold the Gorgeous Grape CS card base at the 5 1/2 inch score line. Then fold at the 2 1/2 inch score line. Adhere the 2 3/4 x 4 inch DSP to the left and the 2 1/4 x 4 inch DSP to the right.

Adhere the 4 x 5 1/4 inch Basic White CS to the inside. Then adhere the 1 x 4 inch DSP to the right-hand side of the Basic White CS.

Punch the end with the Label Me Lovely Punch to create a notch.

Turn the card front over and apply Tear & Tape Adhesive to the upper and lower edges. Tip: Use the Take Your Pick tool to peel the protective cover off.

Fold the card front to adhere the edges and make the pocket for the gift card.

Adhere the Basic White CS card front to the corresponding Gorgeous Grape CS. Lay on the front of the card base to get positioning.

Tip: Flip the card front over to see where to adhere the Stampin’ Dimensionals.

Finishing Touches

Add a finishing touch by applying the Wonderful Snowflake.

And of course-add Bling! The Rhinestone Basic Jewels will add some extra sparkle!

Voila! Such a wonderful way to thank those around you!

You can see some more Holiday Thank You card ideas HERE and HERE.

Thank you for visiting my blog today. I am very appreciative of you. My blog would not be successful without you!

Product List

Have a very Happy Holiday Season!

Theresa

Posted in 2021 Stampin' Up! July-December Mini Catalog, Decorative Masks, Gratitude/ Thanks

Bruno & Kylie Bertucci’s Demonstrator Training Program Blog Hop-December 2021-Stampin’ Up!® Penguin Place Thank You Card

Thank you!

Thank you for joining me for our last Stampin’ Up!® Demonstrator Monthly Team Blog Hop for 2021! I am excited that you could join us today because I know you will get lots of ideas and creative inspiration to bring into the New Year! My Penguin Place Thank You Card is made using the Adorning Designs Decorative Masks and the Blending Brushes.

I belong to a group of Stampin’ Up!® Demonstrators from around the world that are taking part in training that is helping us to build a successful Stampin’ Up!® business. I am a Demonstrator in Arizona, USA. If you are not already an amazing Demonstrator, or do not have a fabulous Demonstrator and live in the USA, I would love to be your most awesome Demonstrator! I really appreciate your support. Be sure to visit all the different blogs and see all the inspiring creations!

The theme for the cards today is: Thank You. I have many customers who support me and I like to send them a Thank You card every once in awhile. The following set of cards is for my fabulous customers which I will be sending to anyone who orders during the month of December 2021.

I had so much fun making the background for these thank you notes. I made 24 using different colors. To make all the penguins, I used the Stamparatus. It goes quickly that way! The “Thanks” sentiment is from the Simply Succulents stamp set.

I also used the snowflake mask and Blending Brush to add some snowflakes to the inside.

I hope you have an great end of 2021! An “Attitude of Gratitude” is very helpful at this time of year. Thank you so much for visiting today!

Have an awesome day!

Theresa

Posted in 2021-2022 Stampin' Up! Annual Catalog, Gratitude/ Thanks, Snowflakes

Kylie’s International Blog Highlights Gallery- December 2021- Stampin’ Up!® Snowflake Wishes Thank You card

Today I am taking part in Kylie Bertucci’s Monthly International Blog Highlights Gallery. The theme is- Thank You. It is so important to thank those who inspire us. Those who help us out. Those who have our back.

On this gallery, you can see thank you cards made by people from all over the world! I hope you enjoy my Snowflake Wishes Thank You card and take the time to see everyone else’s inspiring creations by visiting the gallery. You can get to the gallery by selecting the “Vote For Me” button at the end of this blog.

The Thank You sentiment if from the Sweet Ice Cream stamp set. All of the stamped snowflakes are from the Snowflake Wishes stamp set. The Stampin’ Up! color is Pacific Point. I ended up with several packages of the Wonderful Snowflakes, so I really wanted to make a card with them.

Using the Blending Brushes

To create the background I used the Blending Brush with Pacific Point Ink on Basic White Card Stock (CS). A few tips:

  1. Gently swirl the Blending Brush on the ink pad in a circular motion.
  2. Touch your scrap paper before blending the color onto your Basic White CS.
  3. Move the Blending Brush in a circular motion with light pressure, then medium pressure as the color leaves the brush.
  4. Go slow to keep the color blending on smoothly. You will need many layers.
  5. The Blending Brushes do take some practice. My goal is to eventually have a very smooth transition of color.

The Wonderful Snowflakes are super fun! When the light hits just right you see a rainbow!

I added lots of the Rhinestone Basic Jewels for sparkle! Voila! Such a pleasant Thank You card to send off!

Please vote for my card when you visit the Gallery by selecting the “Vote For Me” button below. Thank you!

Ciao!

Theresa

Posted in 2021 Stampin' Up! July-December Mini Catalog, Fun/Fancy fold card, Gratitude/ Thanks, Shaker Card, Stampin' Up! 2021-2022 Annual Catalog, Thanksgiving

Stampin’ Up!® Sweets & Treats Cloche Dome Card

Happy Thanksgiving!

Today I plan to spend some time reflecting on all I have to be grateful for. An “attitude of gratitude” really keeps me from feeling down during the holidays. I am very blessed to be able to spend Thanksgiving with family this year. We missed last year, so I feel especially grateful to be visiting this year.

I have a very fun 3D card for you today:

Doesn’t that apple pie look delicious? I actually prefer pumpkin pie, but the apple pie is a close second. Which pie do you like best? Please leave me a comment below.

Measurements

  • Cinnamon Cider Card Stock (CS) card base: 5 1/2 x 8 1/2 inches
  • Cinnamon Cider CS: 3 3/8 x 4 5/8 inches
  • Basic White CS: 3 3/4 x 3 1/2 inches and a scalloped rectangle from the Scalloped Contour Dies
  • Hand Penned 12 x 12 inch Designer Series Paper (DSP): 3 3/4 x 3 3/4

The Fun Fold Card Base

The card base is made by cutting 3/4 inch off of the top and bottom of the front panel. Emboss the back panel with the Timber 3D Embossing Folder. Set aside.

Trivia: Anyone know what a cloche (Klōsh) is? I didn’t. One definition of cloche from French, literally “bell”, is a transparent cover shaped like a bell.

Stamping & Coloring The Pie Pan

Use the Cloche Dies to cut the shape of the dome from the Scalloped Contour Die rectangle. Take care to position the die so that it is about 1/4 inch down from the top and that it is centered. Tip: I use sticky note tape to hold my dies in position while putting them through the Stampin’ Cut & Emboss Machine. Save the cut out piece. Stamp the pie stand in Memento Black Ink. Use Stampin’ Blends Alcohol Markers in Smoky Slate to color the stand. Tip: I color in the “shadows” first with the Dark Smoky Slate Blend.

Then use the Light Smoky Slate Stampin’ Blend marker to blend the border of the dark into the light. Keep moving from the edges to the center until it is all colored in.

Stamping & Coloring the Pie

Now stamp the pie onto the cut out piece of the dome. Color the pie pan with Cinnamon Cider Stampin’ Blends. Start with the Dark Cinnamon Cider Blend on the edges. Use the Ivory Stampin’ Blend to color the pie crust. Since there is only one shade of the Ivory, you can make a shadow on the edges by coloring the first layer as shown.

For the pie pan, blend with the Light Cinnamon Cider marker from both edges until you reach the middle of the pie pan. Note: I used a wee bit of the Light Cinnamon Cider Blend on the pie crust. To finish the crust I used the Ivory Blend to smooth out the darker edges until I covered the entire crust. I used the Light Real Red Stampin’ Blend for the holes in the pie crust since I am making an apple pie.

Stamping the Inside

Orient the 3 3/4 x 3 1/2 inch Basic White CS card piece with the 3 1/2 inch edge on either side. Using the Memento ink, stamp the “love ya” sentiment in the center. Add the heart in Blushing Bride ink.

Assembling the Card

Adhere the inside Basic White CS panel to the inside of the Cinnamon Cider CS card base so that it is hidden when you close the front panel. Adhere the Hand Penned DSP to the front panel. Set aside.

Do Not Adhere, but just place the complete Scalloped Contour rectangle with the pie dome on the 3 3/8 x 4 5/8 inch Cinnamon Cider CS. Adhere the pie dome without getting adhesive on the Scalloped Contour piece. Remove the Scalloped Contour rectangle. Draw some steam over the pie with the Black Stampin’ Write Marker. Yummy!

Assembling the Shaker Cloche Dome

Place about 1/2 tsp of the gold and orange Sequins for Everything on the center of the dome cut out. Remove the strip covering the adhesive on the bottom of the Cloche Shaker Dome.

Carefully line up the inside edge of the shaker dome with the dome on the Cinnamon Cider CS. Push firmly around the edge of the dome. Once adhered, remove the strip covering the adhesive on the top of the Cloche Shaker Dome.

Apply adhesive to the back of the Scalloped Contour rectangle. Place it carefully over the dome and push down to make it stick. Now the sequins can move around inside the dome! Fun!

Finishing the Card

Adhere the shaker dome card piece to the front panel of the card base. Take care not to apply adhesive to the very top and bottom. Include a sentiment if desired. I really like the sentiment “any way you slice it, I’m thankful for you”.

Voila! Such a yummy looking Sweets & Treats Cloche Shaker card! Also a great Thanksgiving card to share your gratitude with a loved one.

Supplies To Make This Card

To go to my online store, click on any of the photos below.

Product List

I am very thankful that you are visiting my blog!

Starting November 29, 2021 I am embarking on a 12 Days of Christmas Card Making Challenge with my fellow stamping friend Christy. Our plan is to create and blog about a new Christmas card every day for 12 days! Come by on Monday, November 29th and see what I have in store for you!

Again- Happy Thanksgiving!

Theresa

Posted in 2021-2022 Stampin' Up! Annual Catalog, Designer Series Paper, Fun/Fancy fold card, Gratitude/ Thanks, Mystery Stamping

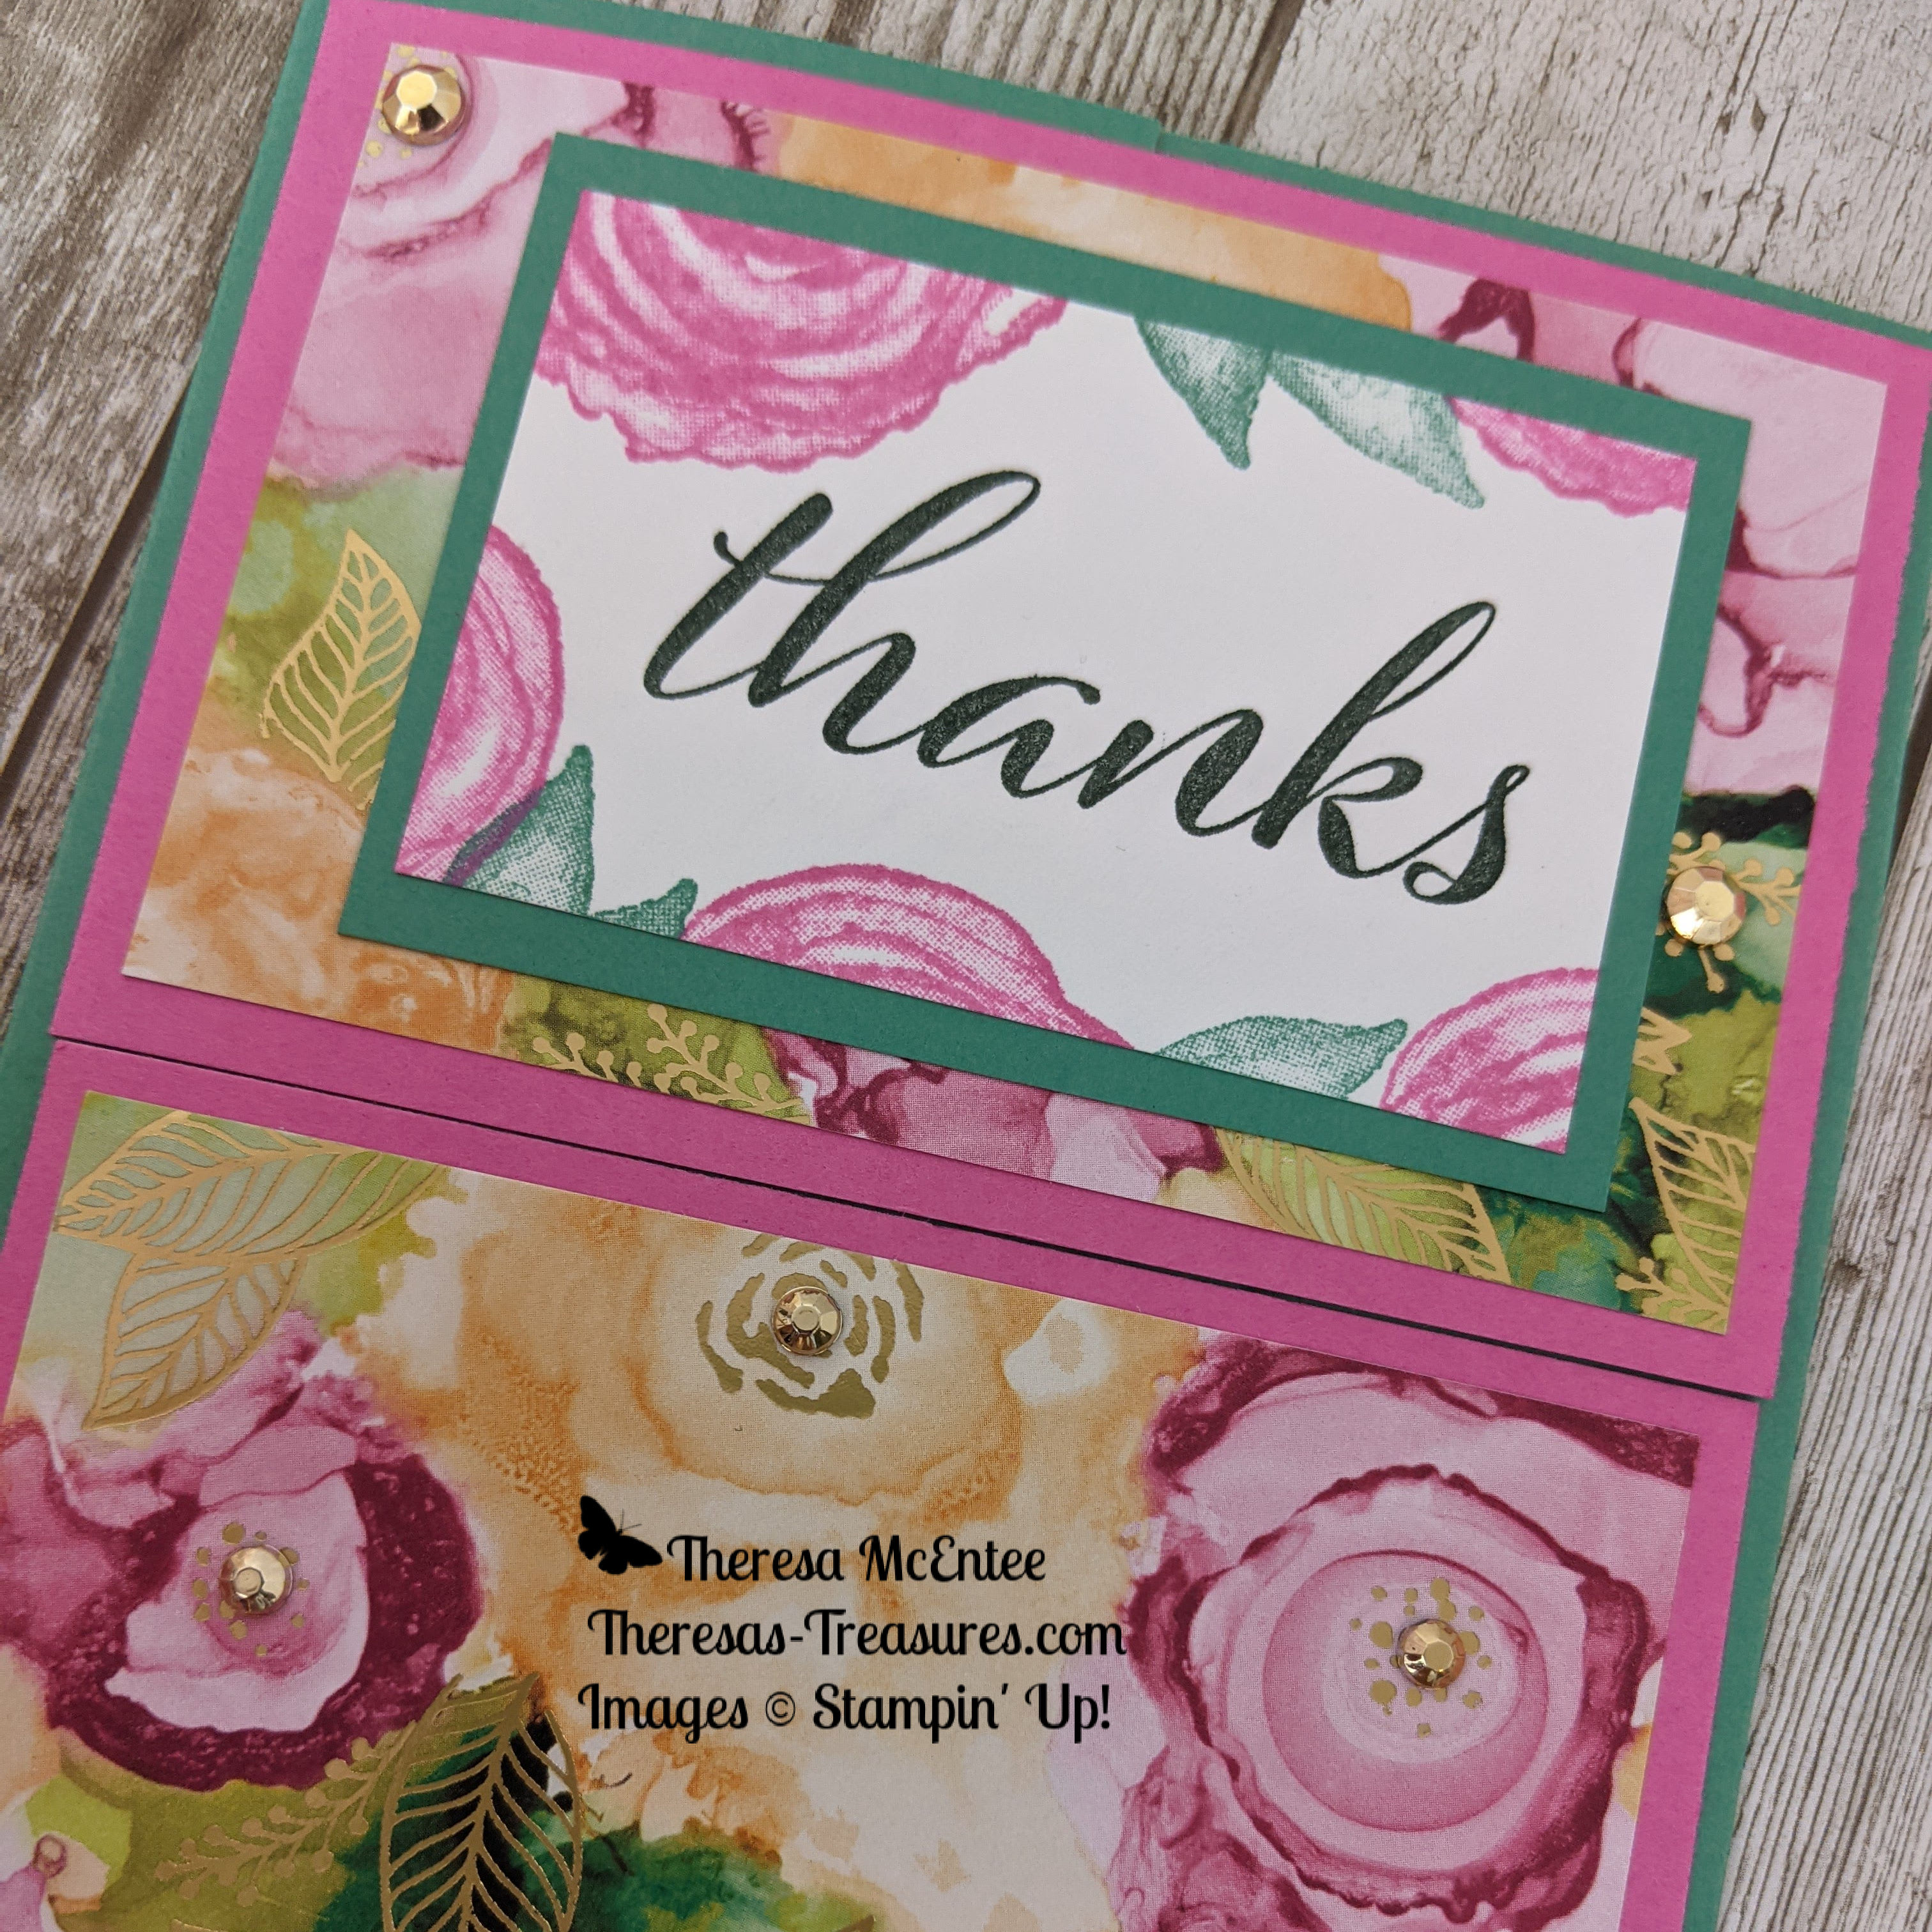
Fun Fold Friday- Stampin’ Up!® Artistically Inked Thank You Card

Join me today to make this gorgeous Artistically Inked Thank You card!

It is gradually getting cooler here in Arizona, but I am not quite ready to show Christmas cards yet. Today I have a Fun Fold that I had my Stamping Gems Team members make as a Mystery Stamping activity.

Fun Fold Friday is on!

Mystery Stamping is a fun way to make cards together. You give the clues one by one. Each person picks the paper and stamp set they want to use. All of the cards are uniquely different. Usually you do not show the finished card until the end.

Clue #1 Supplies

  1. Color Card Stock (CS) Color A: 8 1/2 x 5 1/2 inches with score lines at 2 1/8 and 6 3/8 inches. (This is the card base and it is in portrait orientation.) You also need a 3 x 2 inch piece.
  2. Color CS Color B: choose a color to coordinate with Color A. Two 4 x 2 5/8 inches.
  3. Designer Series Paper (DSP) to coordinate with the Color A and Color B CS. Two 3 3/4 x 2 3/8 inches.
  4. Basic White CS: 2 3/4 x 1 3/4 inches and 5 1/4 x 4 inches.
  5. A sentiment stamp to fit inside the 2 3/4 x 1 3/4 inch Basic White CS card piece.
  6. Images to make a border around the sentiment and the inside of the card.
  7. Coordinating ink, embellishments, adhesive and Stampin’ Dimensionals.

Clue #2

Stamp your sentiment onto the 2 3/4 x 1 3/4 inch Basic White CS. Stamp images around the sentiment.

Clue #3

Stamp the images around the outside edge of the 5 1/4 x 4 inch Basic White CS. Leave the center blank so one could write a note.

Clue #4

Adhere the sentiment to the 3 x 2 inch Color A CS. Adhere the 5 1/4 x 4 inch Basic White CS to the center panel of the 8 1/2 x 5 1/2 inch Color A CS.

Clue #5

Adhere the DSP to the Color B CS. Repeat for the other pieces. You should have two identical card pieces.

Clue #6

Bring the 2 side panels together so they meet in the center of the card. Apply adhesive to the back of the left half of one of the card pieces with the DSP on it. Adhere this to the top of the left-hand panel. Now apply adhesive to the back of the right side of the second DSP card piece. Adhere it to the bottom of the right-hand panel.

Clue # 7

Use Stampin’ Dimensionals to adhere the sentiment to the center of the upper DSP card piece.

Clue #8

Use embellishments as desired.

Voila! That is the Mystery Stamping Fun Fold using the Artistically Inked stamp set and Expressions in Ink DSP! The Mystery Stamping is a really fun way for my Stamping Gems Team and me to stamp together as part of our monthly team meeting.

Product List

I hope you have some time to do some crafting this weekend! I find stamping and card making is so peaceful and relaxing.

Bye for now!

Theresa

Posted in Designer Series Paper, Gratitude/ Thanks

Bruno and Kylie Bertucci’s Stampin’ Up!® Demonstrator Training Program Blog Hop- November 2021 Eden’s Garden Thank You Card

Welcome to my Eden’s Garden Thank You Card today. Thank you for joining me today for Bruno and Kylie’s Demonstrator Training Program Monthly Blog Hop! This Demonstrator Training Program is for Stampin’ Up! Demonstrators all over the world who are working towards bettering their business. The program has been so awesome so far! One thing I learned is how to participate in this Blog Hop!

Be sure to visit all the blogs and see all the unique Thank You cards from around the world! There are so many ideas and creative inspiration! If you wish to become a Stampin’ up! Demonstrator please see “The Start With Savings Starter Kit” information of the end of this blog.

I am so amazed with how beautiful the Eden’s Garden Collection is! The Ever Eden Designer Series Paper (DSP) has so many fabulous designs! I decided to use the DSP as the focus of my customer Thank You cards.

Measurements: Ever Eden DSP– 5 x 1 inch and 3 1/2 x 1 3/4 inches; Evening Evergreen Card Stock (CS) card base and 3 3/4 x 2 3/4 inches; Basic White CS 3 1/4 x 2 1/2 inches and 5 1/4 x 4 inches.

Add a few of the Garden Gems and Voila! A fast and simple Thank You Card to show off the fabulous Ever Eden DSP to my customers!

Be sure to click on the next person in line to see more amazing cards. You are at Theresa McEntee-Theresa’s Treasures-USA

Supplies- Shop Here
November Host Code: BAKE6KM6*

*Use the host code when you order $50 or greater and receive a free gift from me!  If your order is over $150, please do not use this code because you can use the Stampin’ Rewards yourself. Any questions-shoot me an email at theresastreasures.az@gmail.com

You may also click on any photo below to go to my Online Store

Product List

Start With Savings Starter Kit Promotion – November 4-30!

The Start with Savings Starter Kit promotion allows you an excellent opportunity to purchase your Starter Kit at a great deal! The Starter Kit is usually $99 which is already an awesome deal! For a limited time you may choose a custom Starter Kit for only $75!!!  This is an unbeatable bargain for Stampin’ Up! product with a value of $125! And you will become part of my Stamping Gems Team!

Have a most wonderful day!

Theresa

Posted in 2021 Stampin' Up! July-December Mini Catalog, Avid Stamper, Gratitude/ Thanks, Thanksgiving

Stampin’ Up!® Gorgeous Leaves Paper Lattice Thanksgiving Card

Stampin’ Up! Gorgeous Leaves Paper Lattice Thanksgiving Card. I have a very colorful Thanksgiving Card made using the Gorgeous Leaves stamp set and Intricate Leaves Dies.

I also found a fun trick with the Paper Lattice! This card was inspired by one made by Mary Knabe. Click on the photo below to get to her blog.

Here is Mary Knabe’s card that inspired me

I also got some inspiration from the current Theme Challenge from The Paper Players.

Measurements

Soft Suede Card Stock (CS) card base: 11 x 4 1/4 inches with a score line at 4 1/4 inches.

Very Vanilla CS: 5 1/4 x 4 inches and 5 1/4 x 3 1/2 inches.

Pumpkin Pie, Pear Pizzazz and Crushed Curry CS: 5 1/2 x 3 /8 inches
(one of each except the Pumpkin Pie CS cut two).

Paper Lattice: one.

Label Parts

Very Vanilla CS label from the Tasteful Labels Dies.

Pumpkin Pie, Pear Pizzazz and Crushed Curry CS leaves from the Intricate Leaves Dies.

Very Vanilla CS Stitched Rectangle from the Stitched Rectangle Dies (the sentiment is from the Banner Year stamp set and is in Early Espresso ink).

Early Espresso Faux Suede Trim: approx. 7 inches to make one bow.

Stamping

Start by stamping the 5 1/4 x 4 inch Very Vanilla CS which is the inside of the card. Stampin’ Up! inks for this card are: Pumpkin Pie, Pear Pizzazz and Crushed Curry. Decorate the inside by stamping a variety of leaf shapes from the Gorgeous Leaves stamp set in a variety of color.

Weaving

Now for the fun trick! Gently weave the color CS strips into the Paper Lattice. Flip the Paper Lattice over. I recommend using the Foam Adhesive Sheets cut into 1/4 inch strips to add dimension and hold the paper strips in place on the back of the Paper Lattice.

Assembling the card

Adhere the Paper Lattice to the 5 1/4 x 3 1/2 inch Very Vanilla CS. Follow by adhering the card piece to the front of the Soft Suede CS card Base.

Complete the inside of the card by adhering the stamped 5 1/4 x 4 inch Very Vanilla CS to the inside of the Soft Suede CS card base.

Assembling the Label

Arrange the Intricate Leaves as desired and adhere them to the Very Vanilla Tasteful Label. Use Mini Stampin’ Dimensionals to adhere the “Happy Thanksgiving” sentiment over the leaves.

Adhere the label to the card front with Stampin’ Dimensionals. Adhere the Early Espresso Faux Suede bow just under the sentiment with a Mini Glue Dot.

Add some Champagne Rhinestone Jewels and Voila! you have a fun and colorful Thanksgiving card!

Supplies- Shop Here
November Host Code: BAKE6KM6*

*Use the host code when you order $50 or greater and receive a free gift from me!  If your order is over $150, please do not use this code because you can use the Stampin’ Rewards yourself. Any questions-shoot me an email at theresastreasures.az@gmail.com

You may also click on any photo below to go to my Online Store

Product List

Start With Savings Starter Kit Promotion – November 4-30!

The Start with Savings Starter Kit promotion allows you an excellent opportunity to purchase your Starter Kit at a great deal! The Starter Kit is usually $99 which is already an awesome deal! For a limited time you may choose a custom Starter Kit for only $75!!!  This is an unbeatable bargain for Stampin’ Up! product with a value of $125!

Choose your custom Starter Kit today and join my Stamping Gems Team HERE

Benefits of Joining: Early Access to New Product, 20% or more discount on future orders and becoming part of the Stamping Gems Team with a monthly meeting featuring Mystery Stamping and a group Facebook page!

I hope you are able to start enjoying all the fall colors! Be sure to use fall colors in your crafts.

This year I am doing a 12 day Holiday Card/Project Challenge with my stamping friend Christy starting November 29, 2021. Stay tuned for that!

Thanks for visiting today!

Theresa