


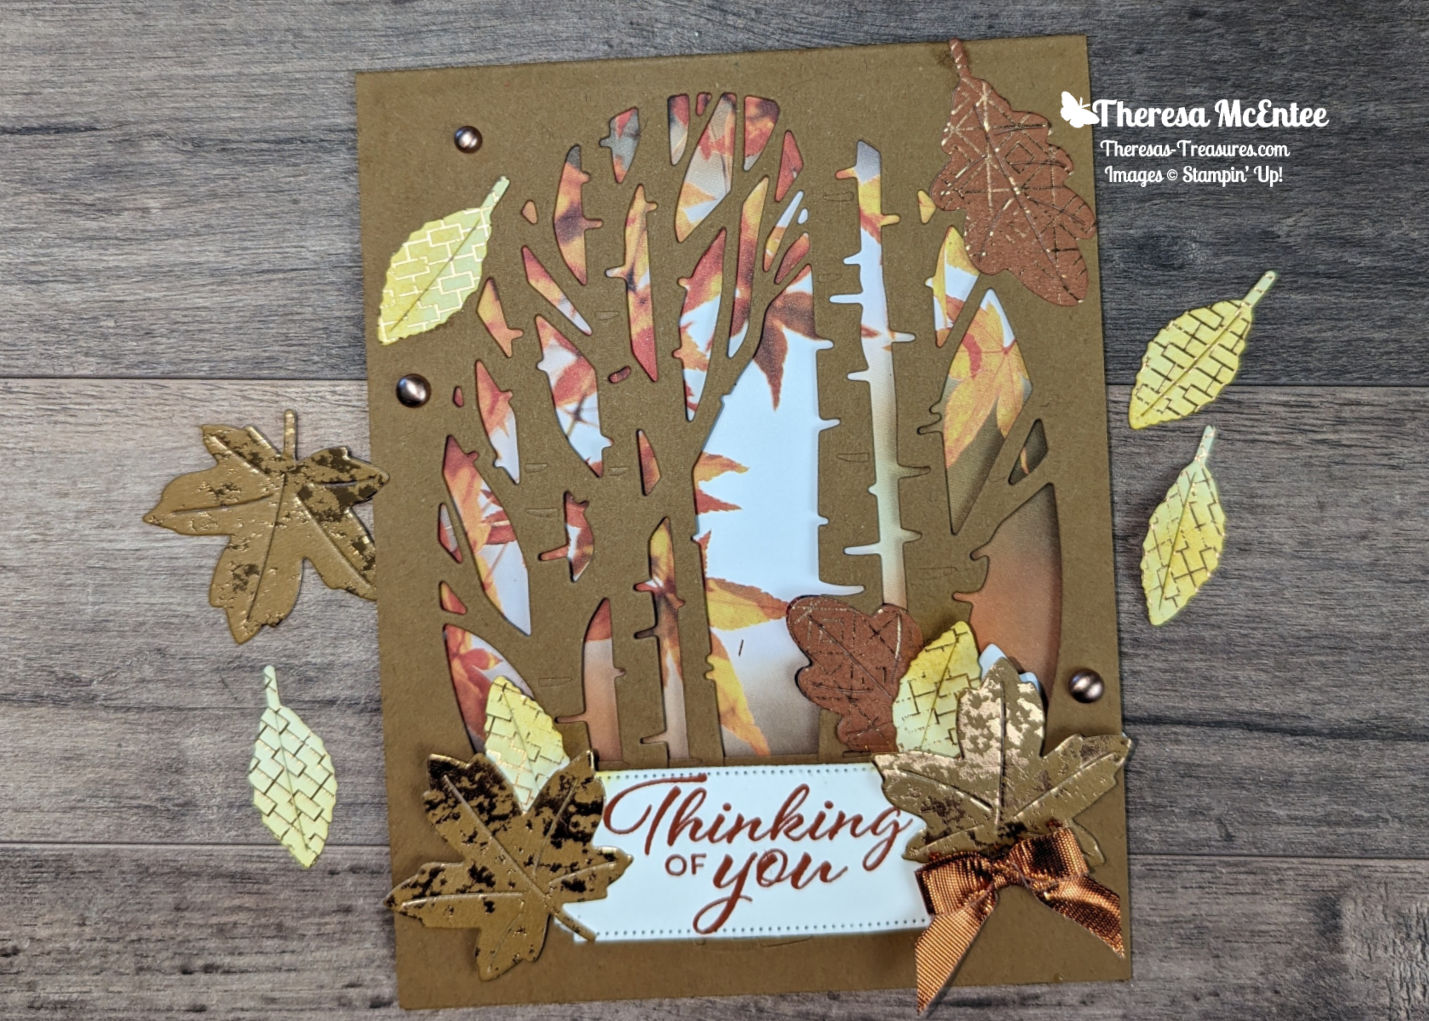
Today’s card is created for the Inspirations in Ink September sketch Challenge. I just love autumn!


Welcome! Thank you for visiting Theresa’s Treasures Paper Crafts! I am Theresa, a Stampin’ Up! Demonstrator in Arizona, USA. Today is the monthly Inspirations in Ink Blog Hop! I am excited to be hopping with such talented demonstrators today. Today is another fun Sketch Challenge! Be sure to check out everyone’s projects. For my project, I used the Online Exclusive Scenic Pumpkin Patch stamp set. When you are ready, you may order from my Online Store HERE.

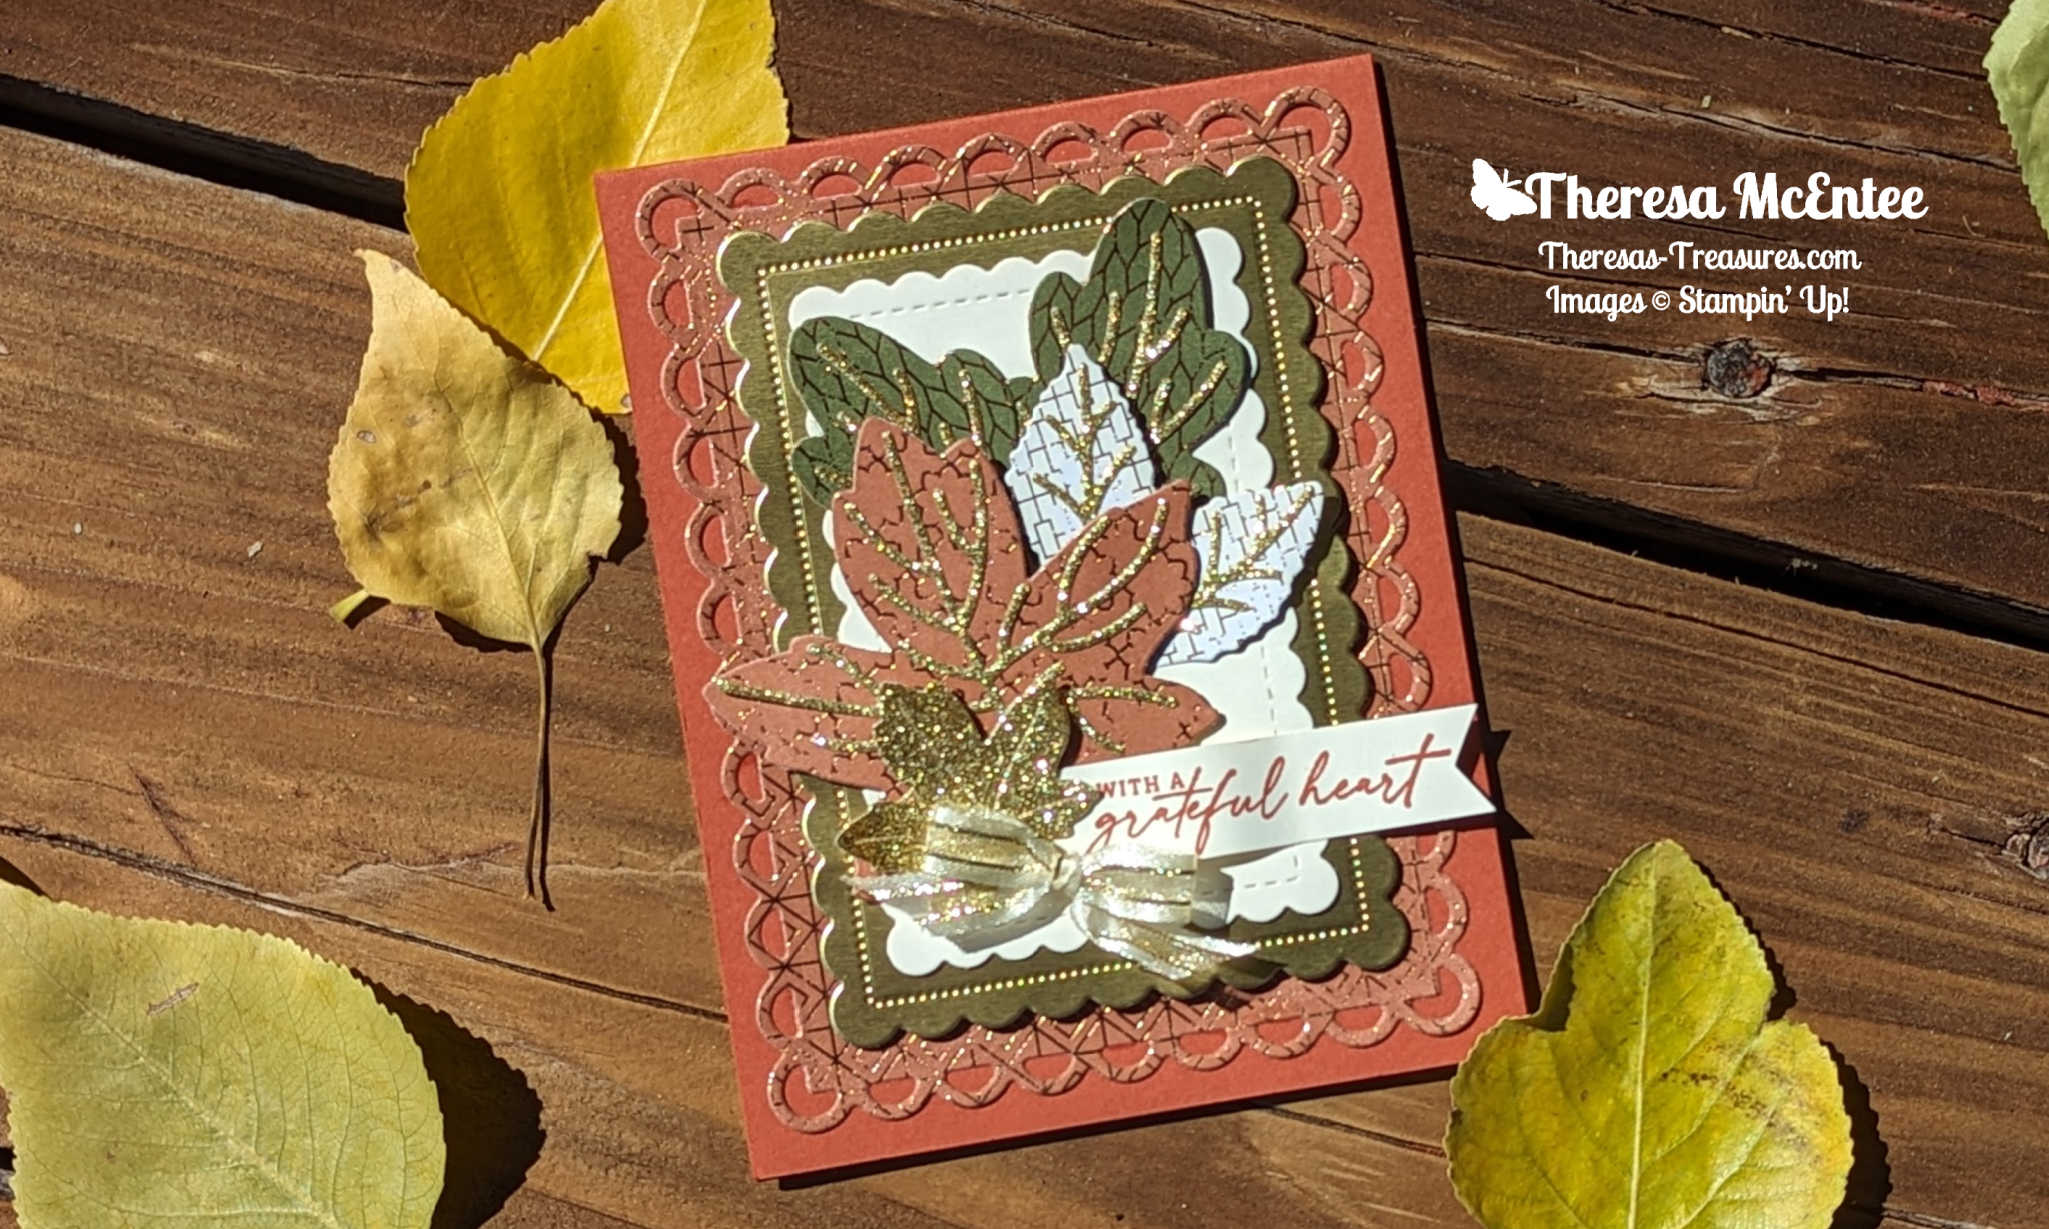
I chose the Scenic Pumpkin Patch because I love all of the lovely fall images! Creating an autumn scene is very easy and fun!

I don’t get to see the same degree of fall colors here in the Southwestern United States. I have visited areas with a much more vivid color change and loved it!

Measurements
- Crumb Cake cardstock card base: 4 1/4″ x 11″ scored at 5 1/2″
- Crumb Cake cardstock: 2 1/2″ x 4″ to die cut the Deckled Rectangle (embossed with the Timber 3D Embossing Folder)
- Peach Pie cardstock: 4 1/4″ x 5 1/2″ to die cut the Deckled Rectangle and 3″ x 3″ to die cut the Deckled Circle.
- Very Vanilla cardstock: two at 3 3/4″ x 5 1/4″ to die cut the Deckled Rectangles for the front and the inside and 2 1/2″ x 2 1/2″ to die cut the Deckled Circle for the sentiment.

Supplies
- Stamp Set: Scenic Pumpkin Patch and Autumn Leaves
- Dies: Deckled Circle and Deckled Rectangle
- Embossing Folder: Timber 3D
- Ink: Old Olive, Calypso Coral, Peach Pie and Crumb Cake
- Embellishments: 2023-2025 In Color Opaque Sparkle Dots and the Baker’s Twine Essentials Pack

Instructions
- Die cut the Deckled Rectangles from the Very Vanilla, Peach Pie and Crumb Cake cardstock.
- Die cut the Deckled Circles from the Very Vanilla and Peach Pie cardstock.
- Emboss the Crumb Cake cardstock Deckled Rectangle with the Timber 3D Embossing Folder.
- Use Crumb Cake Ink to stamp the tree trunks, house and fences onto the lower right-hand cornerof one of the Very Vanilla cardstock Deckled Rectangles. Stamp the roof of the house with Calypso Coral Ink. Use the Peach Pie and Calypso Coral Inks to stamp the leaves on the trees. Draw a door on the house with the Crumb Cake Stampin’ Write Marker. Use the Basic Black Stampin’ Write Marker to make a doorknob.

- Use the Peach Pie and the Calypso Coral Inks to stamp the single pumpkin in the lower left-hand corner.
- Stamp the vine and leaves in Old Olive Ink.
- Adhere the stamped Very Vanilla cardstock Deckled Rectangle to the Peach Pie cardstock Deckled Rectangle.
- Wrap Crumb Cake and Very Vanilla Baker’s Twine around the top of the Peach Pie/Very Vanilla cardstock Deckled Rectangle and tie a bow.
- Adhere this card piece to the front of the Crumb Cake cardstock card base with Stampin’ Dimensionals.
- Adhere the embossed Crumb Cake cardstock Deckled Rectangle to the stamped Very Vanilla cardstock Deckled Rectangle at an angle.
- On the Very Vanilla cardstock Deckled Circle stamp the sentiment “Autumn teaches us that change can be Beautiful” in Calypso Coral Ink. Use the Peach Pie and Calypso Coral Inks to stamp the row of pumpkins under the sentiment. Stamp the pumpkin stems in Old Olive Ink. Stamp the leaf and vine in Old Olive Ink over the sentiment.

- Adhere the stamped Very Vanilla cardstock Deckled Circle to the Peach Pie Deckled Circle.
- Adhere the sentiment card piece to the card front with Stampin’ Dimensionals.
- Embellish with the 2023-2025 In Color Opaque Sparkle Dots in Copper Clay.
- For the inside of the card, use the Peach Pie and Calypso Coral Inks to stamp the row of pumpkins on the bottom center of the second Very Vanilla cardstock Deckled Rectangle. Stamp the leaves and vines in Old Olive Ink. Stamp the stems for the pumpkins in Old Olive Ink.

- Adhere this inside card piece to the inside of the Crumb Cake cardstock card base.
Voila!

Thank you so much for visiting today! I hope you enjoyed my project. You will be inspired when you visit all the blogs in the Inspirations In Ink Blog Hop! Enjoy!
You are currently visiting Theresa McEntee-USA creator of Theresa’s Treasures Paper Crafts.
Blog Roll Call
Clickable Supply List
Product List ") $20.00 | ") $24.00 |  $9.00 |  $9.00 |  $9.00 |
 $9.00 | $9.00 |  $11.00 |  $30.00 |  $37.00 |
 $13.00 |  $11.50 |  $11.50 |  $35.00 |  $8.00 |
 $11.00 |
Paper Pumpkin 40% Off First Month of New Subscription

Until October 10, 2024 you can get 40% off of the first month of a new Paper Pumpkin Subscription. Get 40% off of the October Nests of Christmas Paper Pumpkin Kit when you sign up as a new subscriber using the code HOLIDAY40. The following Paper Pumpkin Kits will be at the regular price. Sign up HERE
Upcoming Kits Collection Sale
Save up to 30% off on all your favorite kits from October 1, 2024 until October 30, 2024!!
All kits will qualify for the discount. Kits may also be added to a Starter Kit at the discounted price.
Kits are for all levels of crafters. It is easy to get together with your friends and family for an afternoon or evening of crafting! Consider making holiday kits together.


Purchase kits HERE
Have a most wonderful and creative day!
Ciao!
Theresa


")
")


")


")
")
")


 Specialty Designer Series Paper")
 Specialty Designer Series Paper")


")
")
")


 Designer Series Paper")


 Adhesive Backed Glimmer Paper")
 Satin Edged Ribbon")


")
")
")


")


