


Welcome! Thank you for visiting Theresa’s Treasures Paper Crafts! I am Theresa, a Stampin’ Up! Demonstrator in Arizona, USA. Today is the monthly Inspirations in Ink Blog Hop! I am excited to be hopping with such talented demonstrators today!
Today is a Sketch Challenge! Be sure to check out everyone’s projects. For my project, I used the Reindeer Fun Bundle from the 2024 Holiday Mini Catalog. When you are ready, you may order from my Online Store HERE.

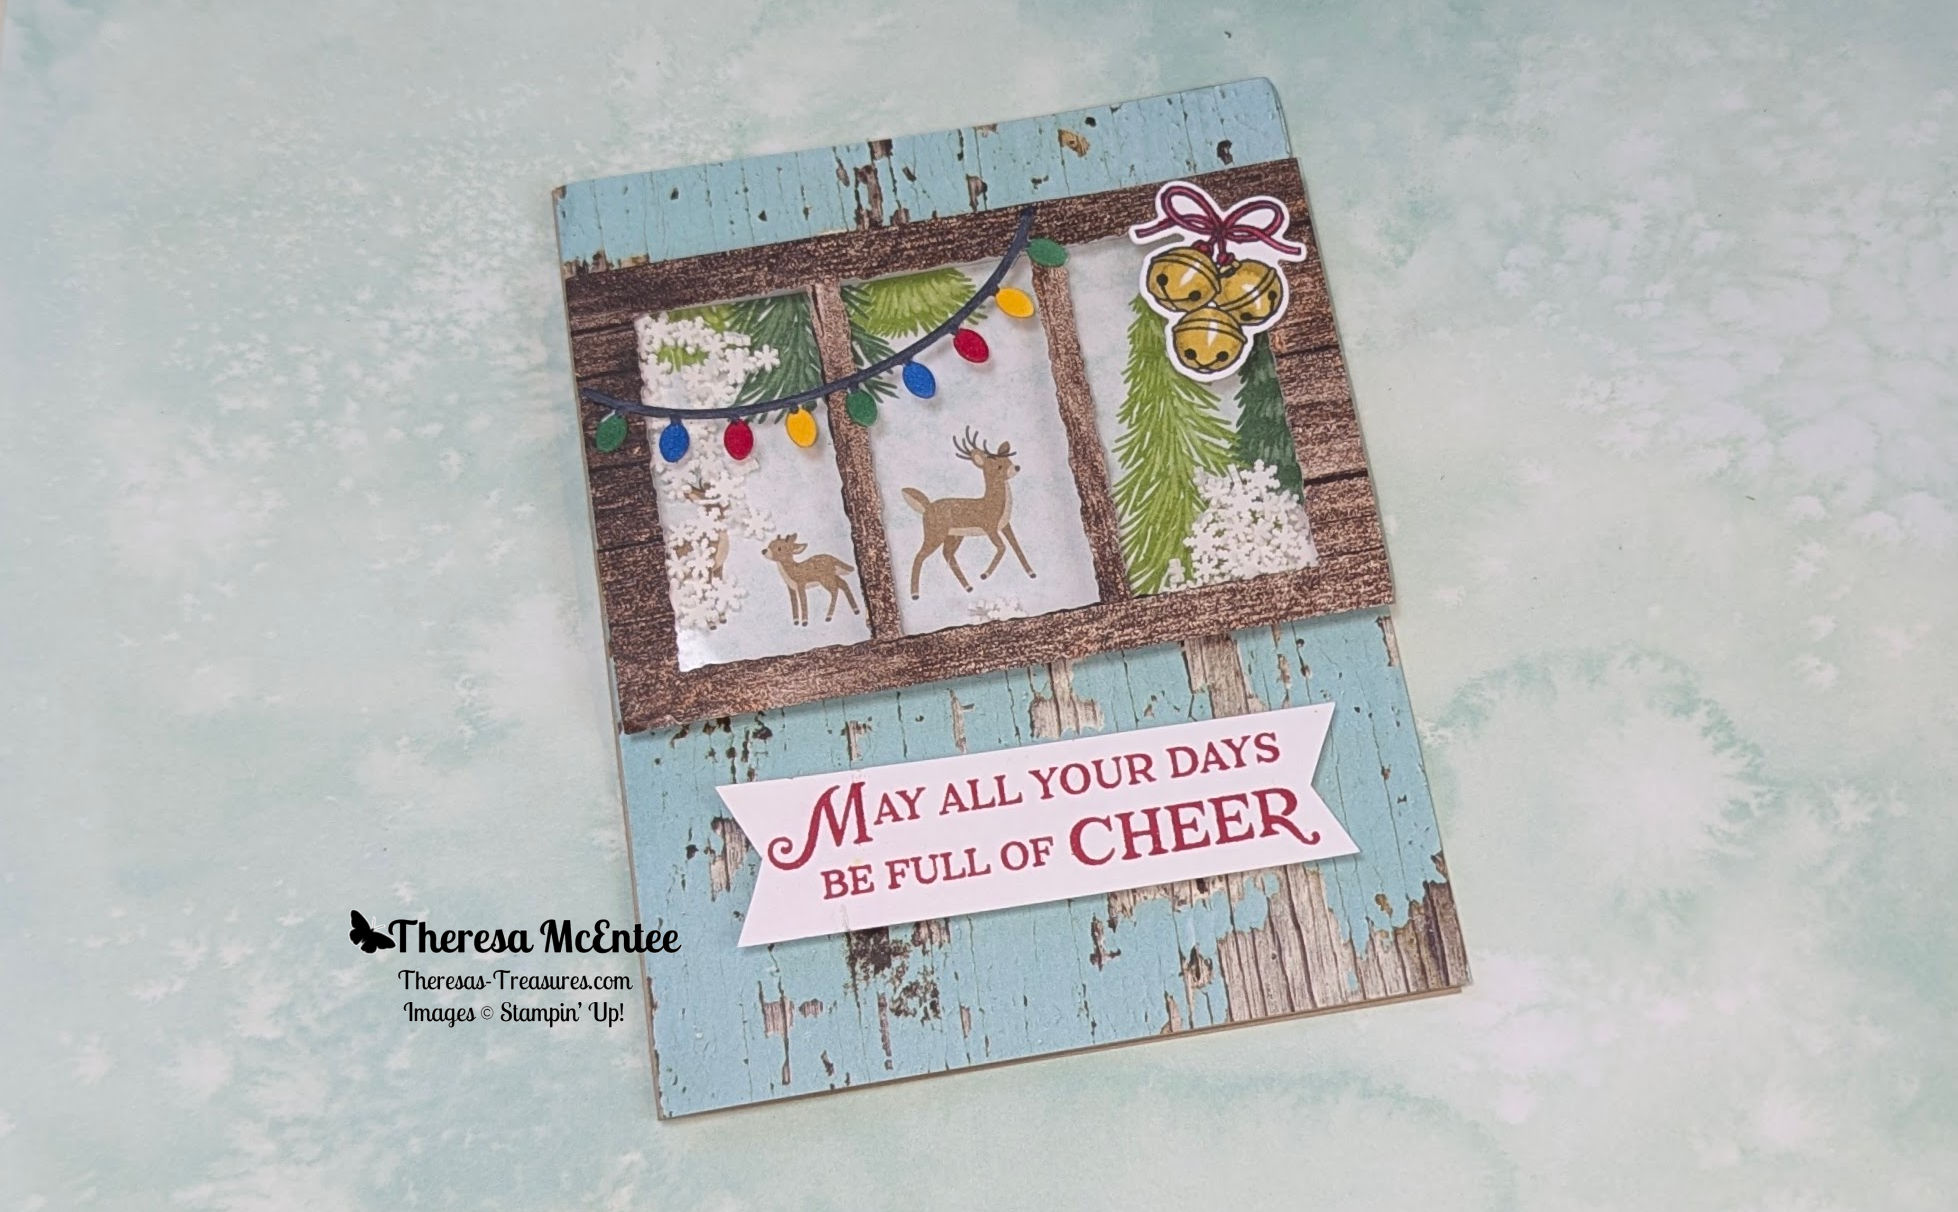
I chose the Reindeer Fun Bundle. When I thought about the sketch I saw it as a window. Then, I was looking through the Reindeer Days Designer Series Paper and saw the scene with the deer! Perfect!

Measurements
- Crumb Cake cardstock card base: 5 1/2″ x 8 1/2″ scored at 4 1/4″
- Basic White cardstock: 3 3/4″ x 5″, 7/8″ x 3 1/2″ and scrap to die cut the string of lights and stamp the bells.
- Reindeer Days Designer Series Paper (DSP): 2 5/8″ x 4 1/8″ (reindeer scene)
- Window Sheet: 2 1/2″ x 4″
- Country Woods DSP: 4 1/4″ x 5 1/2″ (turquoise wood) and 3 1/2″ x 4 3/4″ (brown wood)

Supplies
- Stamp Set: Reindeer Fun
- Dies: Reindeer Fun and Deckled Rectangle
- Ink: Memento Tuxedo Black Ink Pad and Real Red Ink Pad
- Stampin’ Blends Alcohol Markers: Wild Wheat, Blueberry Bushel, Shaded Spruce, Daffodil Delight, Basic Black and Real Red
- Embellishment: White Loose Snowflakes
- Adhesive Strips

Instructions
- Use the Memento Ink and stamp the jingle bells onto the scrap of Basic White cardstock. Color as desired witht the Stampin’ Blends Alcohol Markers.
- Die cut the string of lights from the scrap of Basic White cardstock. Color as desired.
- Stamp the sentiment for the card front in Real Red onto the 7/8″ x 3 1/2″ Basic White cardstock. Trim the ends to be banners.
- Use the Deckled Rectangle Die to cut the center from the brown wood design from then Country Woods DSP. Use the edge of the die to make the two planks for the inside of the window.
- Adhere the Window Sheet to the back of the brown wood window.
- Use the Real Red Ink to stamp the inside sentiment onto the 3 3/4″ x 5″ Basic White cardstock. Adhere this to the inside of the Crumb Cake cardstock card base.

- Adhere the turquoise wood to cover the front of the Crumb Cake cardstock card base.
- Adhere the reindeer scene.
- Apply the Adhesive Strips to surround the back of the window.
- Pour some of the Loose Snowflakes over the center of the reindeer scene. Carefully place the window over the reindeer scene and Loose Snowflakes. Press firmly.
- Use Stampin’ Dimensionals to adhere the sentiment.
- Use Multipurpose Liquid Glue to adhere the string of lights and jingle bells.
Voila!

Thank you so much for visiting today! I hope you enjoyed my project. You will be inspired when you visit all the blogs in the Inspirations In Ink Blog Hop!
You are currently visiting Theresa McEntee-USA creator of Theresa’s Treasures Paper Crafts.
Blog Roll Call
Clickable Supply List
Product List ") $54.00 |  $30.00 |  $8.00 |  $9.00 |  $11.00 |
 $11.00 |  $11.00 |  $11.00 |  $11.00 |  $11.00 |
 $11.50 |  $13.00 |  Designer Series Paper") $12.50 |  Designer Series Paper") $12.50 |  $8.25 |
 $4.25 |  $6.00 |  $8.00 |
Have a most wonderful and creative day!
Ciao!
Theresa