


Hello and welcome! I am Theresa McEntee, creator of Theresa’s Treasures Paper Crafts. Today I have the pleasure of participating in the Blog Hop with Around the World on Wednesday (AWOW) organized by Angie McKenzie with my Filled with Happiness Good Day Card.

On the second Wednesday of each month, the AWOW team put together a thematic hop to give you some inspiration for your own crafting. March Blues is this month’s theme.

I was really inspired by all of the beautiful blues that Stampin’ Up! has! One of the awesome characteristics of Stampin’ Up products is that they all coordinate. I did not have any trouble finding Designer Series Paper, embellishments or ribbon to go with the March Blues. I was able to color with the Stampin’ Blends to create the Filled with Happiness Good Day Card.

My Project for today
Measurements
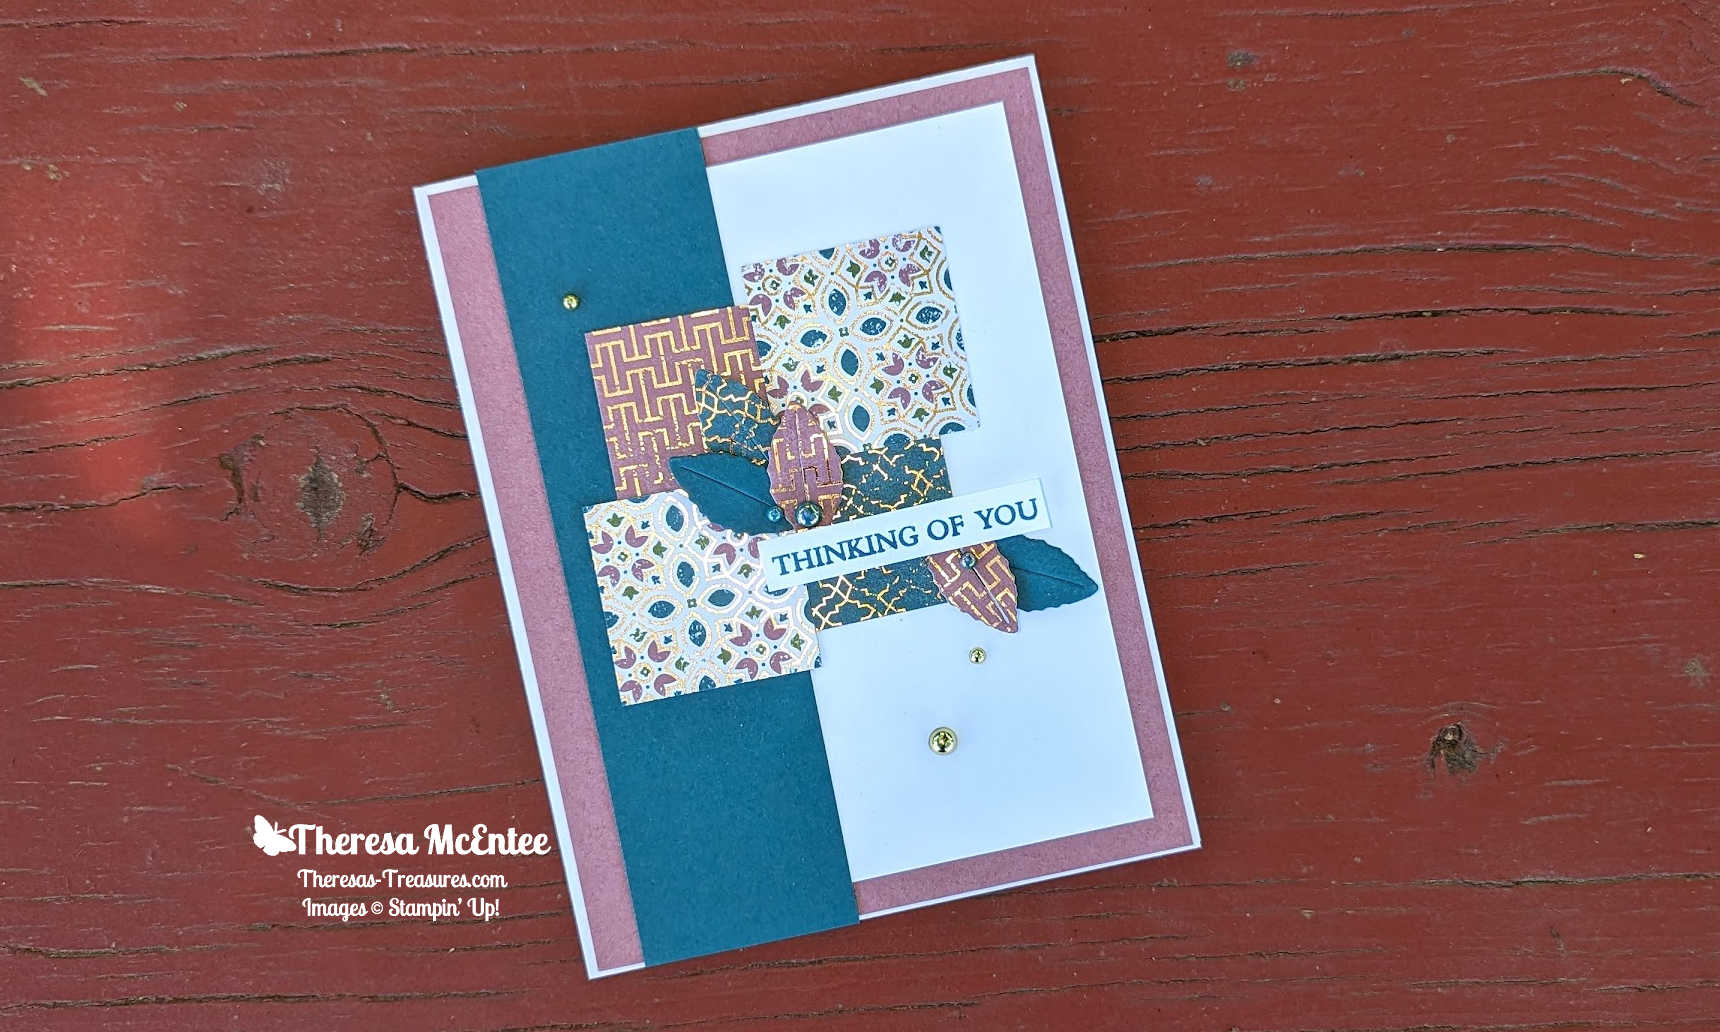
- Misty Moonlight cardstock card base: 5 1/2″ x 8 1/2″ scored at 4 1/4″
- Night of Navy cardstock: 2 3/8″ x 5 1/2″
- Poetic Expressions Designer Series Paper: 2 1/4″ x 5 1/2″ and 3/4″ x 4 1/8″
- Basic White cardstock: two at 3″ x 3 1/2″ and 4″ x 5 1/4″
Supplies
- Filled with Happiness Stamp
- Modern Oval Punch
- Ink: Night of Navy
- Stampin’ Blends: Pool Party, Boho Blue, Balmy Blue, Night of Navy & Misty Moonlight
- Balmy Blue & White 1/2″ Variegated Ribbon
- Iridescent Pastel Gems
Instructions
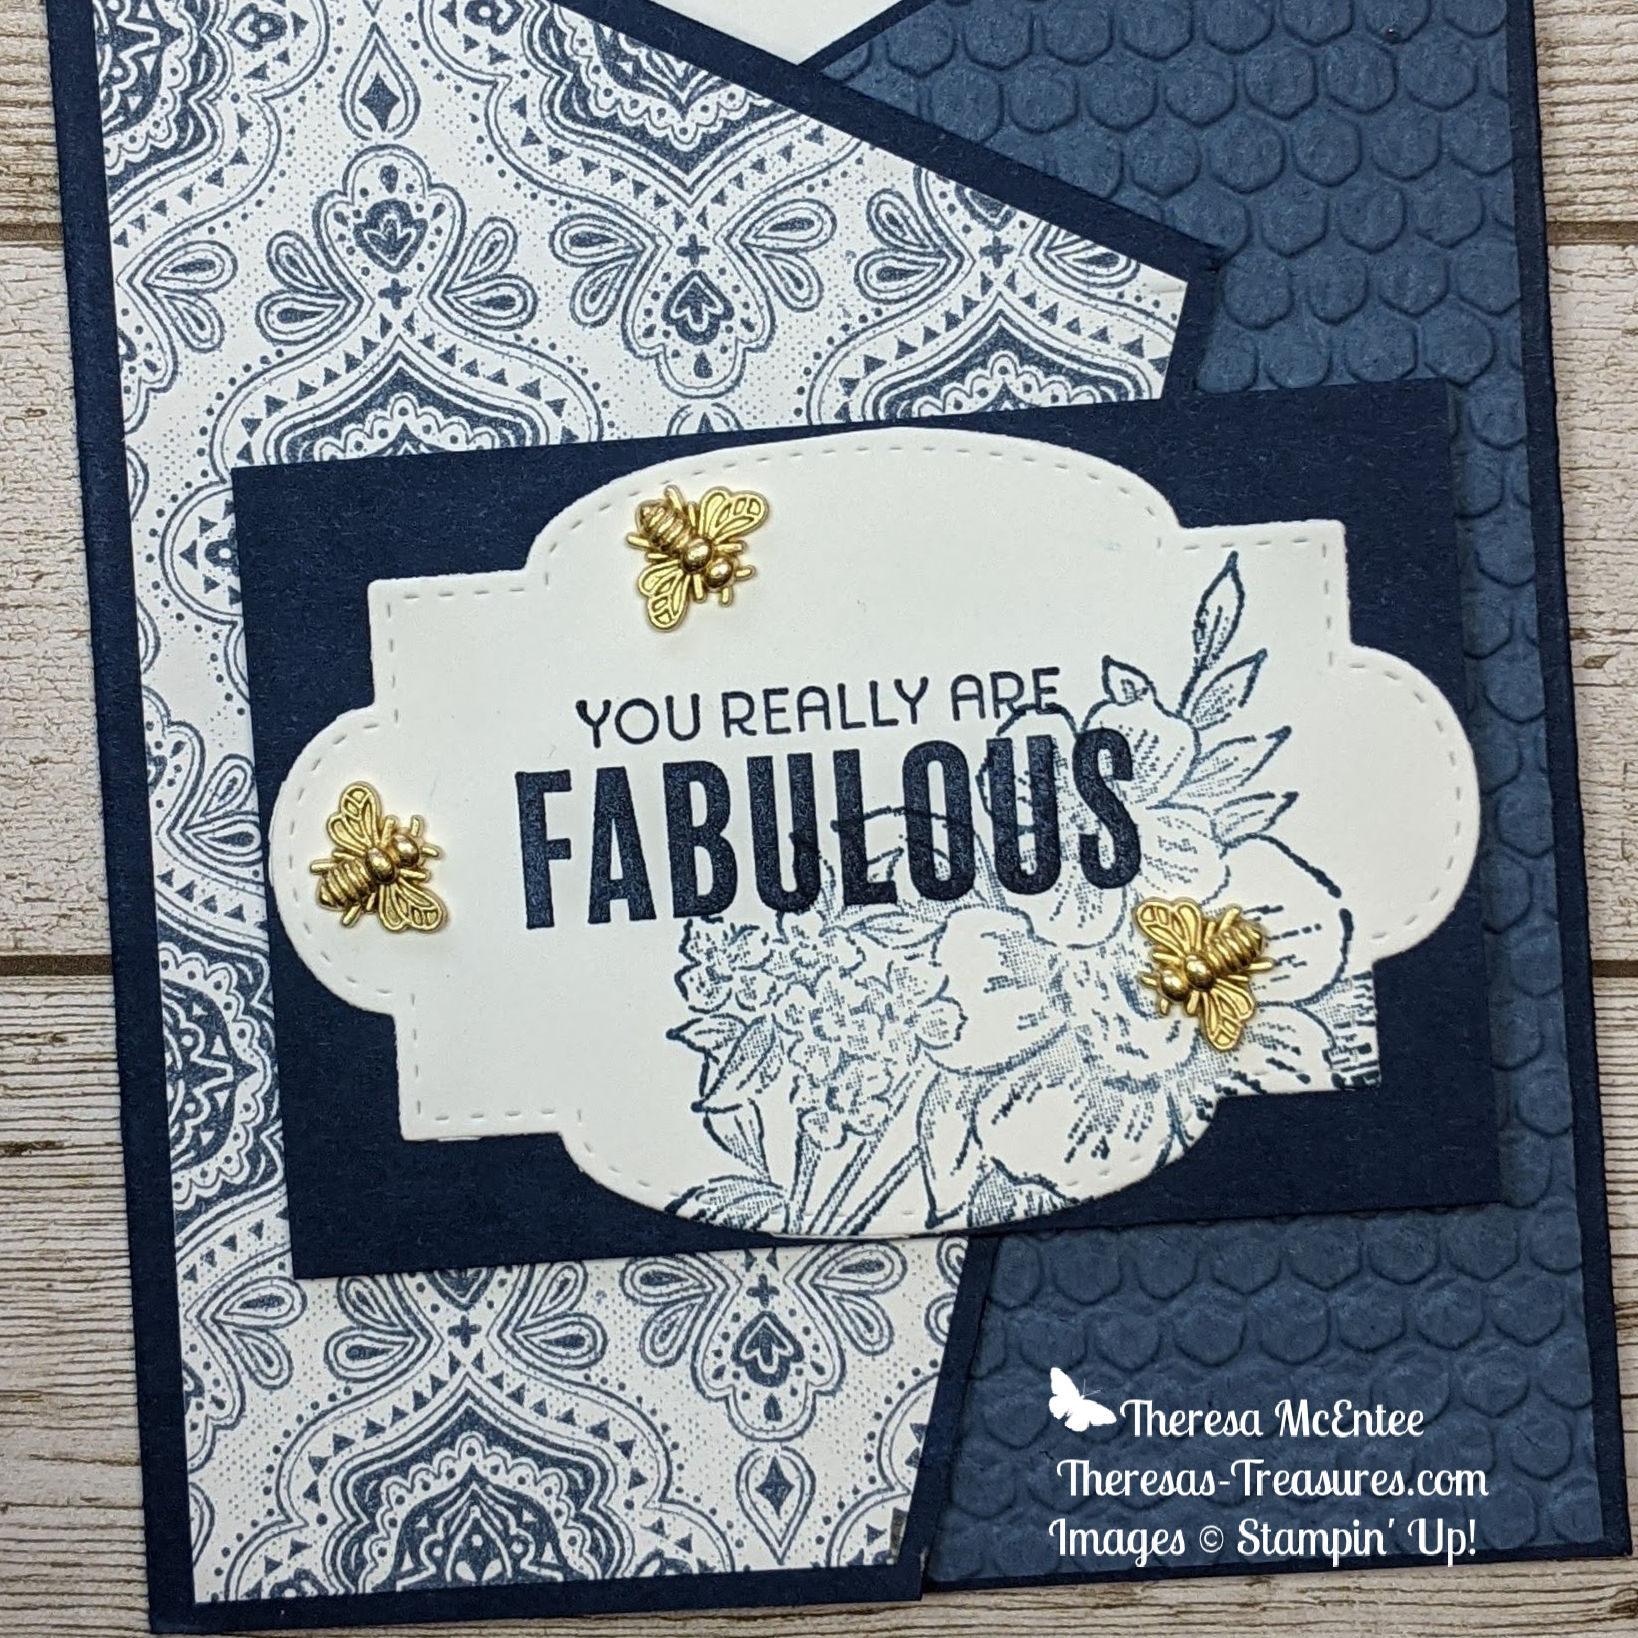
- Stamp the “Good Day” image in Night of Navy Ink onto one of the 3″ x 3 1/2″ Basic White cardstock pieces. Use scissors to cut around the outer border of the sentiment.
- On the other 3″ x 3 1/2″ Basic White cardstock piece, stamp the bird image in Night of Navy Ink. Use the Modern Oval Punch to punch the center out.
- Color the bird image with the Stampin’ Blends as desired.
- Adhere the Poetic Expressions Designer Series Paper to the Night of Navy cardstock. Wrap the Balmy Blue & White 1/2″ Variegated Ribbon around the middle. Adhere to the back with Mini Glue Dots.
- Adhere this piece to the middle of the front of the Misty Moonlight cardstock card base.
- Make a bow and set aside.
- Adhere the “Good Day” sentiment piece to the left side of the card front.
- Use Stampin’ Dimensionals to adhere the bird image to the center of the “Good Day” sentiment piece.
- Adhere the bow with a Mini Glue Dot.
- Embellish with the Iridescent Pastel Gems.
The AWOW Team
I am so glad you have joined me today in this worldwide hug that stretches all the way from Australia to Alaska across twelve different time zones. Each month this group of creative friends prepare a project for a theme. Below is an image of the whole crew and where they are from around the globe. Such a talented and wonderful group of people! You will want to visit everyone to be sure to see all the amazing projects!

We all love sharing joy with you through projects from our individual parts of the world. I hope that you will be filled with lots of inspiration!
See More Inspiring Projects

Thank you so much for visiting today. I hope you enjoyed learning more about our projects. Have a most wonderful day!
Theresa
Supply List
Product List ") $20.00 |  $22.00 |  $9.00 |  $10.00 |  $10.00 |
 $10.00 |  $10.00 |  $10.00 |  $10.00 |  $10.00 |
 $10.50 |  Designer Series Paper") $12.50 |  Variegated Ribbon") $9.00 |  $8.00 |


")
")
")


 Specialty Designer Series Paper")
 Specialty Designer Series Paper")


")
")


")


 Designer Series Paper")


")
")
")


")

 Designer Series Paper")


")

")


