


Hello and welcome! I am Theresa McEntee, creator of Theresa’s Treasures Paper Crafts. Today I have the pleasure of participating in the Blog Hop with Around the World on Wednesday (AWOW) organized by Angie McKenzie.

On the second Wednesday of each month, the AWOW team put together a thematic hop to give you some inspiration for your own crafting.

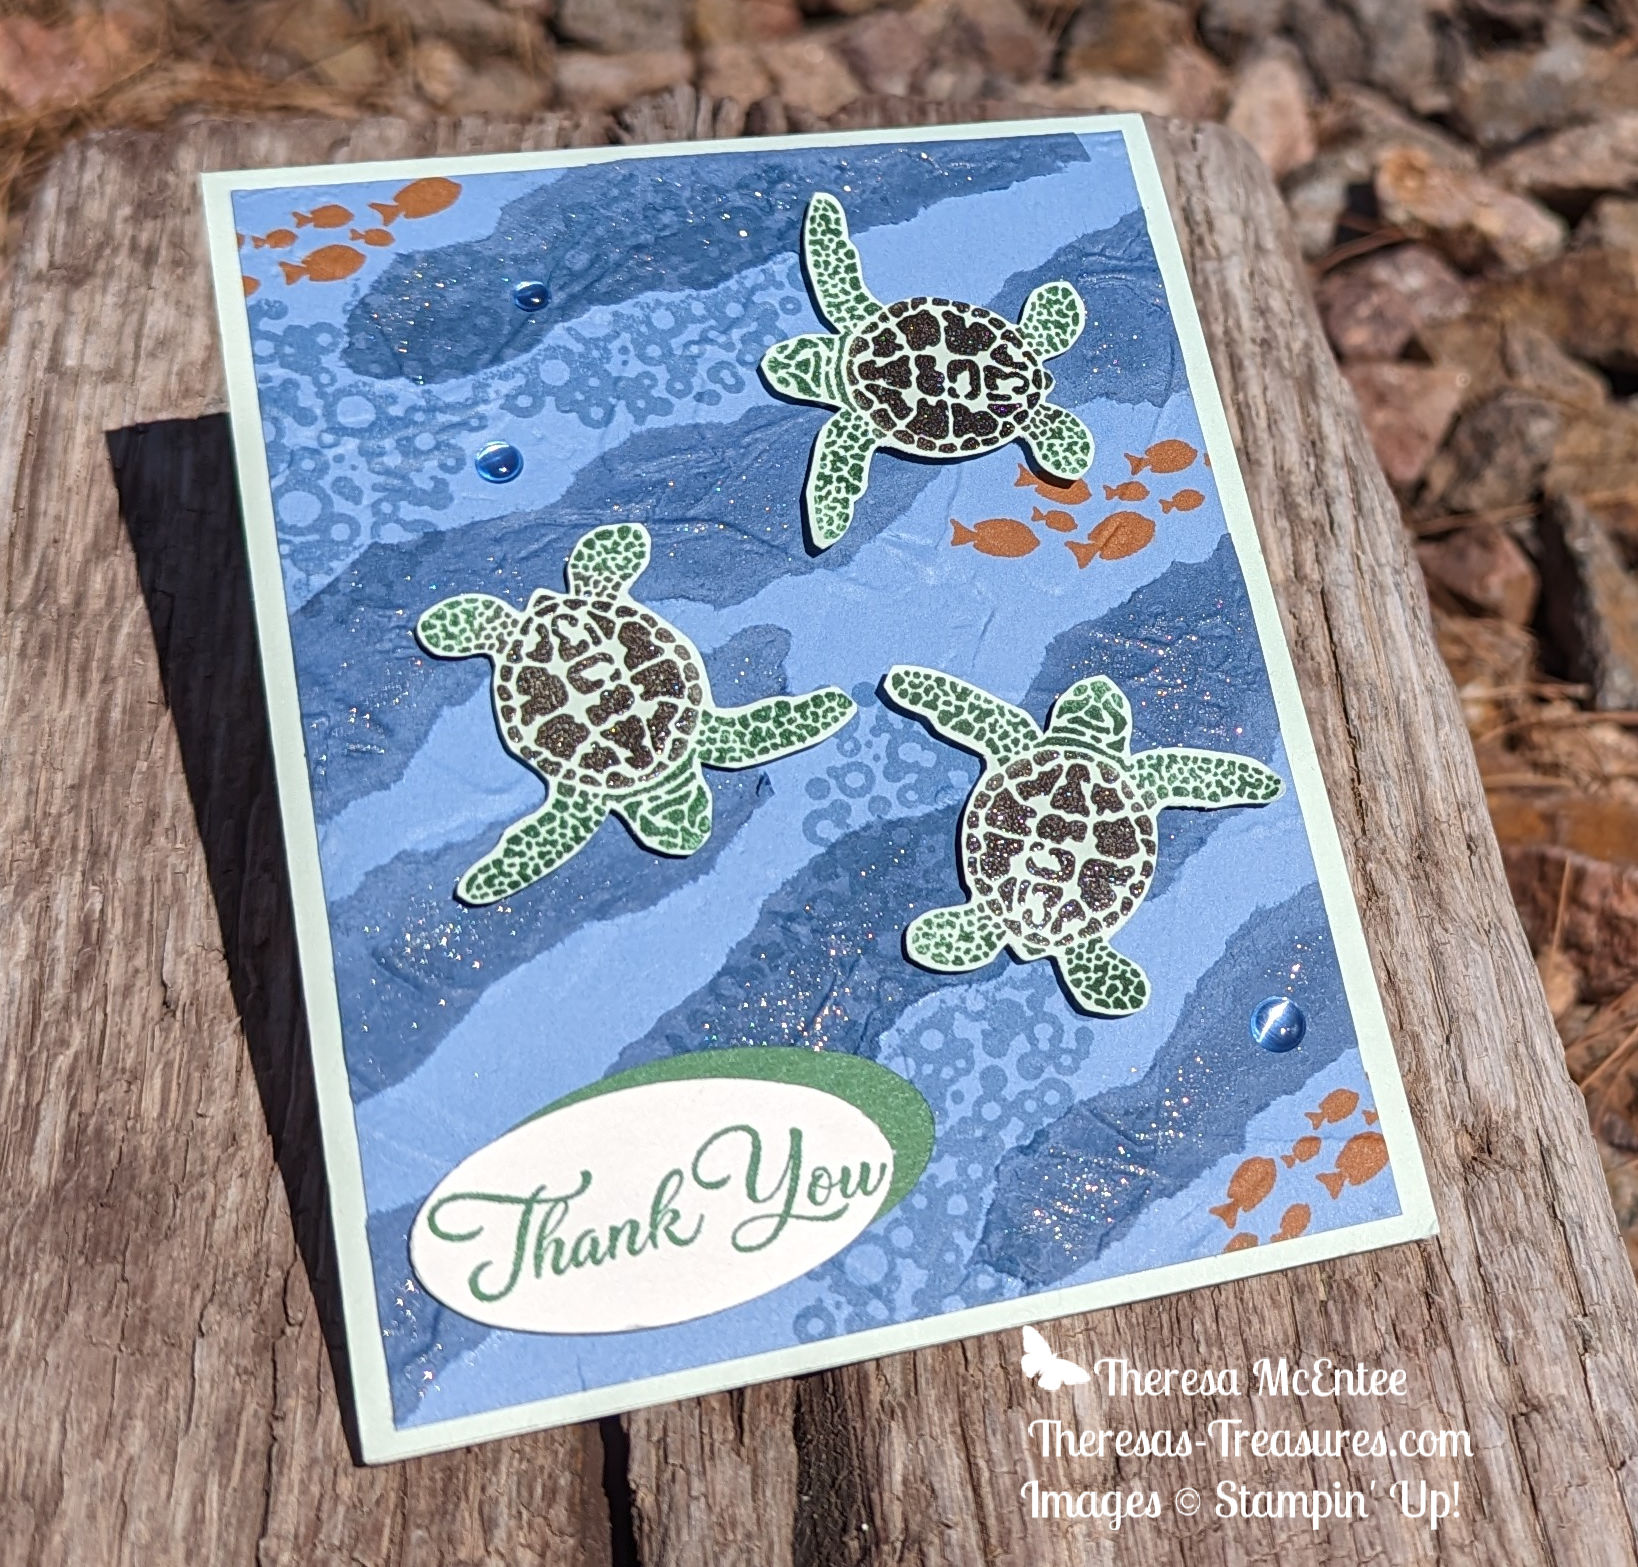
This month’s theme is for the 5th Anniversary of Around the World on Wednesday! We are doing a Team Member Focus. We are honoring Anne Marie Hile, Stampin’ Anne, because she was very supportive in helping Angie get this all started. The goal is to choose one of Anne Marie’s cards that she has posted and C.A.S.E. (Copy And Selectively Edit) the card.


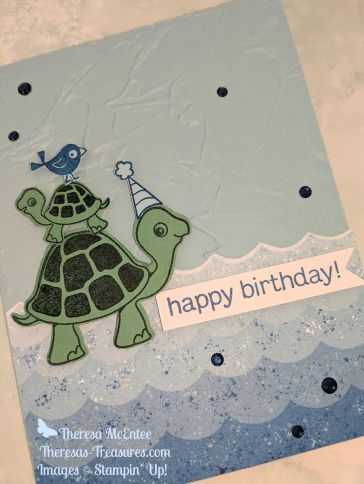
I choose Annie Marie’s cute kitty card to C.A.S.E. I was really impressed by all of the coordinating layers in this card (there are 7 layers on her card!). She also used 2 different embossing folders. She paid lots of attention to every detail. I had fun copying this style with my Turtle-y Awesome Birthday card.
My Project for today

This card was made using the Turtle-y Awesome stamp set and dies, the Turtle Textures Embossing Folder, the Turtle-y Cute Designer Series Paper and the Shades of Green Hexagon Embellishments. These products may all be found in the 2025-2026 Stampin’ Up! Annual Catalog due to be released in May 2025. This is a turtle-ly terrific sneek peek!

Turtles are special to me because my Mom liked turtles. She had a collection of hundreds of little ceramic turtles she picked up everywhere she traveled. Since she passsed away in 2018, I have become even more fond of turtles.
The AWOW Team
I am so glad you have joined me today in this worldwide hug that started on April 8, 2020 and stretches all the way from Australia to Alaska across twelve different time zones. Each month this group of creative friends prepare a project for a theme. Below is an image of the whole crew and where they are from around the globe. Such a talented and wonderful group of people! I had the pleasure of meeting several during the Stampin’ Up! Onstage convention in Raleigh, NC. You will want to visit everyone to be sure to see all the amazing projects!

We all love sharing joy with you through projects from our individual parts of the world. I hope that you will be filled with lots of inspiration!
See More Inspiring Projects

Jan Clothier – NZ
Leonie Stuart – AU
Rochelle Laird-Smith – AU
Cheryll Miller – AU
Danielle Kassing – NL
Marga Bultena – DE
Aurélie Fabre – FR
Kim Fee – UK
Annette Ball – CA
Kelly Taranto – US
Chris Smith – US
Theresa McEntee – US
Bree Renwick – US
Teri West – US
Cheryl Hamilton – US
Thank you so much for visiting today. I hope you enjoyed learning more about our projects. Have a most wonderful day!


")


")


")
")


 Designer Series Paper")

 Variegated Ribbon")


")


 Designer Series Paper")


