
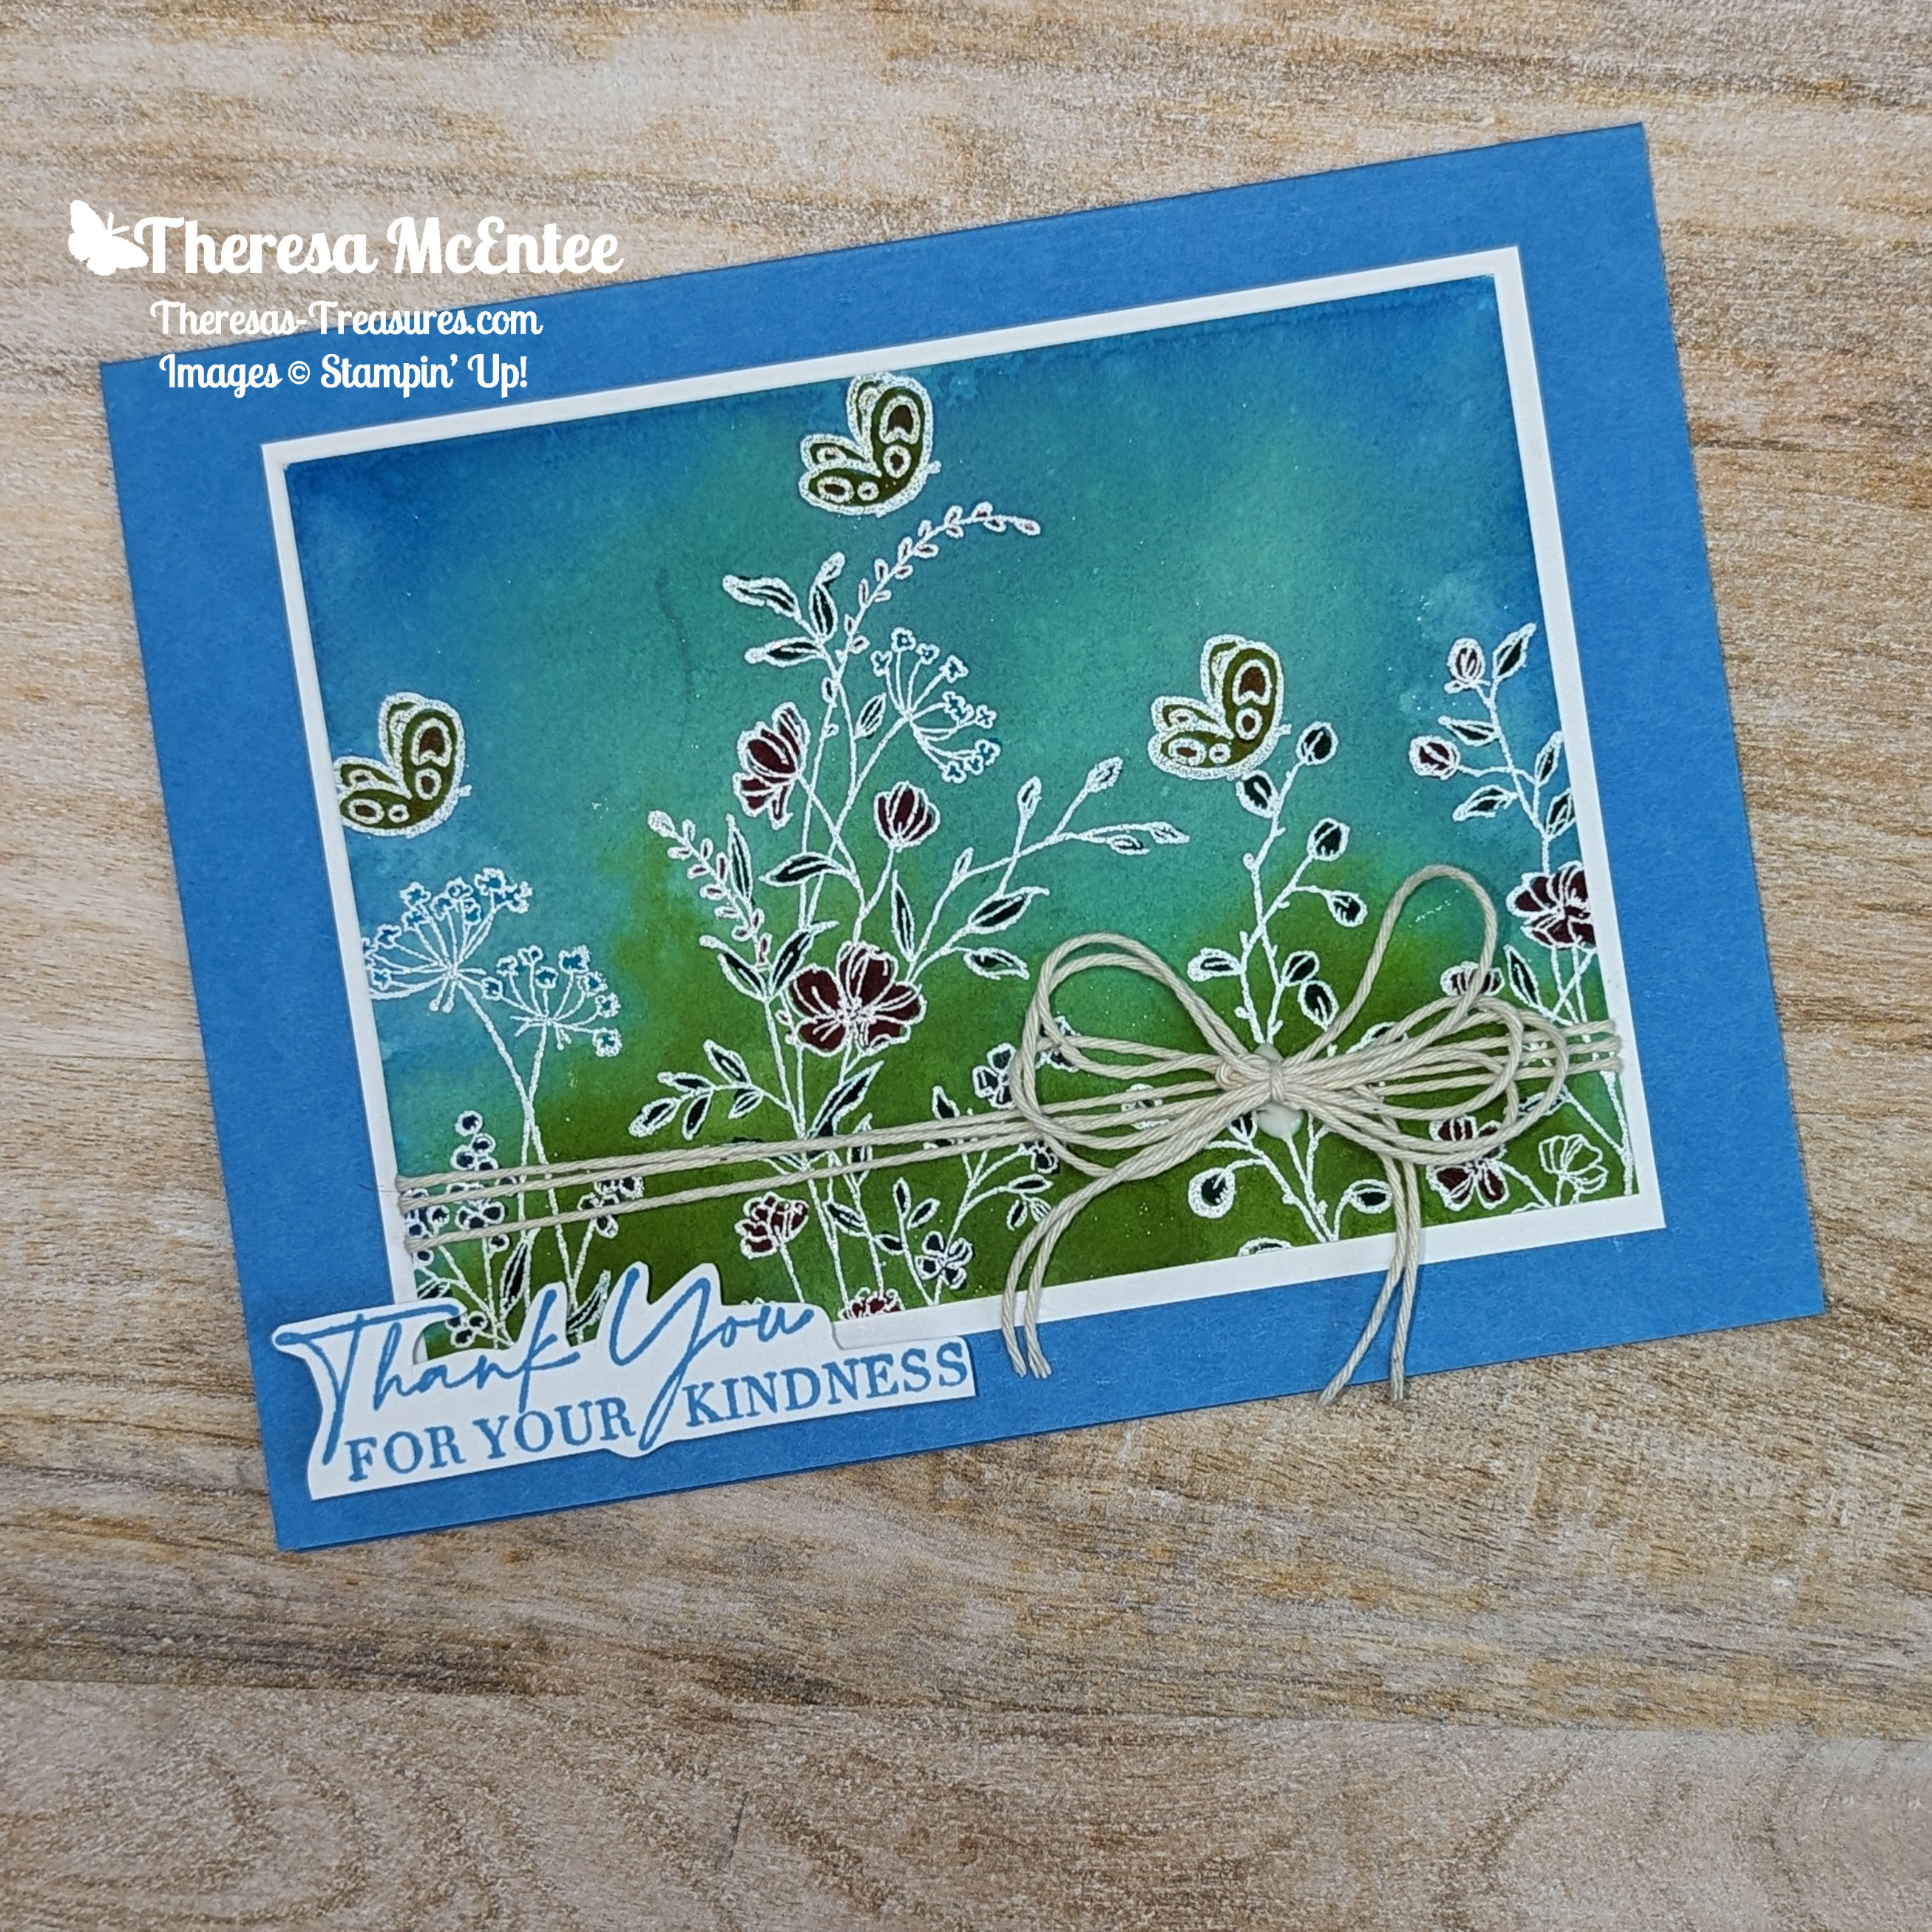

Hello! Welcome to the Kylie & Bruno Bertucci Demonstrator Training Blog Hop for July 2023. I’m Theresa, creator of Theresa’s Treasures Paper Crafts. I have a Thank You card today with the Dainty Delight stamp set using the Emboss Resist Technique. I am so glad you are joining me!
We are a group of Stampin’ Up! Demonstrators from around the world. We are taking part in training to help us build a successful Stampin’ Up! business. My goal is to participate in the monthly Blog Hop in order to create a handmade Thank You card to send to my customers! This blog hop is full of ideas and creative inspiration! Be sure to visit everyone’s blog by clicking on the links at the end of my blog.

Measurements
- Azure Afternoon card stock (cs): 5 1/2″ x 8 1/2″ with a score line at 4 1/4 “
- Basic White card stock (cs): 3 1/2 x 4 1/2 inches, 1″ x 2 3/4″ (sentiment) and 4″ x 5 1/4″ (inside)
- Fluid 100 Watercolor Paper: 3 1/2″ x 5″ initially, then trimmed to be 3 1/4″ x 4 1/2″

Supplies
- Dainty Delight stamp set
- Easter Bunny stamp set (for the butterfly)
- Versamark Ink
- White Emboss Powder
- Heat Tool
- Acrylic Block E
- Stampin’ Spritzer
- Ink: Memento, Azure Afternoon, Coastal Cabana and Granny Apple Green
- Bakers Twine Essentials Pack– Very Vanilla
- Blender Brushes
- Stampin’ Write Markers: Daffodil Delight, Pumpkin Pie, Shaded Spruce, Sweet Sorbet, Tahitian Tide (I don’t yet have the Azure Afternoon) and Orchid Oasis.
Instructions
Emboss Resist Technique
- Stamp the floral images as desired with the Versamark Ink onto the Fluid-100 Watercolor Paper. After each image, apply the White Emboss Powder. Use the Heat Tool to set. Stamp the butterfly image from the Easter Bunny stamp set. Cover with White Emboss Powder and heat set.
- Moisten the paper with the Stampin’ Spritzer.


- Use the Costal Cabana Ink Pad and apply color to the E Acrylic Block.
- Then use the Azure Afternoon Ink Pad and apply ink to the outer upper border.
- Finally, use the Granny Apple Green Ink Pad to apply color to the lower portion of the E Acrylic Block.
- Spritz the block with the Stampin’ Spritzer until the colors begin to blend together. Quickly turn upside down onto the Watercolor Paper with the embossed images. Let sit for 15 minutes.
- Remove the block, and Voila! You have a beautiful watercolor Emboss Resist panel.
Adding Color


- Now for the fun part! Color the flowers and butterflies as desired with the Stampin’ Write Markers.
- Trim this card piece to 3 1/4″ x 4 1/4″.
Putting it All Together
- Adhere to the 3 1/2″ x 4 1/2″ Basic White cs.
- Wrap the Very Vanilla Bakers Twine around the card piece three times.
- Make a bow with several layers. Adhere the bow to the card front with the Tom Bow Liquid Glue.
- Then adhere to the Azure Afternoon cs card base.
- Inside Card Piece: use the Blending Brushes with the Coastal Cabana, Azure Afternoon and Granny Apple Green Inks to create a light color on the Basic White cs inside card piece.

- Stamp the floral images in Memento Ink.
- Color the flowers with the Stampin’ Write Markers.
- Adhere to the inside of the Azure Afternoon cs card base.
Voila!

Remember to visit everyone’s blog. You will see creative inspiration from Demonstrators around the world! You are currently at Theresa McEntee-Theresa’s Treasures-USA. Enjoy!
I appreciate your visit to my blog today. Remember to sign up for my Theresa’s Treasures Paper Crafts Newsletter. You can click on the “Subscribe to my Newsletter” tab. Please subscribe to my blog as well. If you need any assistance with placing your order, let me know in the comments. Thanks!
Have a most wonderful day! Happy crafting!
Theresa
Promotions
New Online Exclusives!
Check out the Online Exclusives! These products will not be found in any Stampin’ Up! catalog. First click on my “shop” button. You will then select the “Menu” tab. Select “Shop Products” and scroll down to “Online Exclusives”. From here you can look at the currently available Online Exclusives!

Paper Pumpkin Monthly Kit
Last day to subscribe!!

Name: Fun in the Sun
This kit includes:
- All the supplies you need to create 9 cards with fun accordion folds: 3 each of 3 designs; and coordinating envelopes.
- An all-occasion stamp set to send friends and family words of encouragement, support and kindness.
- Iridescent Sequin Embellishments.
- 1 Classic Stampin’ Spot: Daffodil Delight.
- Summertime Ephemera pieces, labels, and paper pieces.
- Adhesive Dots and Tear & Tape Adhesive.
Completed card size: 5-1/2″ x 4-1/4″ (14 x 10.8 cm)
Coordinating Stampin’ Up! colors: Azure Afternoon, Basic Gray, Crumb Cake, Daffodil Delight, Flirty Flamingo, Granny Apple Green, Melon Mambo, Pool Party
Bonus Days!!

BONUS DAYS ARE BACK!
Why? Because you know what is a great deal? Getting rewarded for all the crafting supplies you’re already going to buy!
When you shop between July 6-31 and spend $50 USD | $60 CAD you will earn a $5 USD | $6 CAD coupon! Make sure you save all your coupons because you can redeem them (and we mean ALL of them) between August 1–31 .
There’s no limit to how many coupons you can earn!


")

 Designer Series Paper")


