Posted in 2021-2022 Stampin' Up! Annual Catalog, Avid Stamper, flowers, Gratitude/ Thanks

Thank You Card for Kylie’s Demonstrator Training Program Blog Hop- May 2021 with Pansy Patch by Stampin’ Up!®

Thank you for joining me today for our Stampin’ Up!® Demonstrator Training Program Monthly Blog Hop! I am so excited to show you a Thank You card made with product from the new 2021-2022 Stampin’ Up! Annual Catalog! Be sure to visit all the blogs and see all the different thank you cards from around the world! I know you will get lots of ideas and creative inspiration!

The theme for the cards today is: Thank You. I am grateful to have customers who support me and I send them a Thank You card every once in awhile. The following set of cards is for my fabulous customers who order during the month of May.

This card was so fun to make. It required a lot of layered stamping, so it is probably better for the more experienced stamper. The Pansy Patch stamp set uses up to 4 layers of stamping to create these lovely pansies. Here’s how I did it.

Stamping

The first step is to use the background stamp for the largest flower and stamp in Highland Heather ink.

Next I stamped the background stamp for the smaller pansy in Highland Heather ink. I then stamped the second layer for the larger pansy in Gorgeous Grape ink, right over the first layer.

Continuing with the Gorgeous Grape ink I stamped the second layer of the small pansies. The center for the large pansy is then stamped in Daffodil Delight ink.

Finishing up with the Daffodil Delight ink I stamped the center of the small pansies. There is one more layer for the larger pansy which I stamped in Gorgeous Grape ink.

For the leaves I Stamped Off once with Garden Green ink to make the background layer. The second layer of the leaves is stamped at full strength.

Finished Card

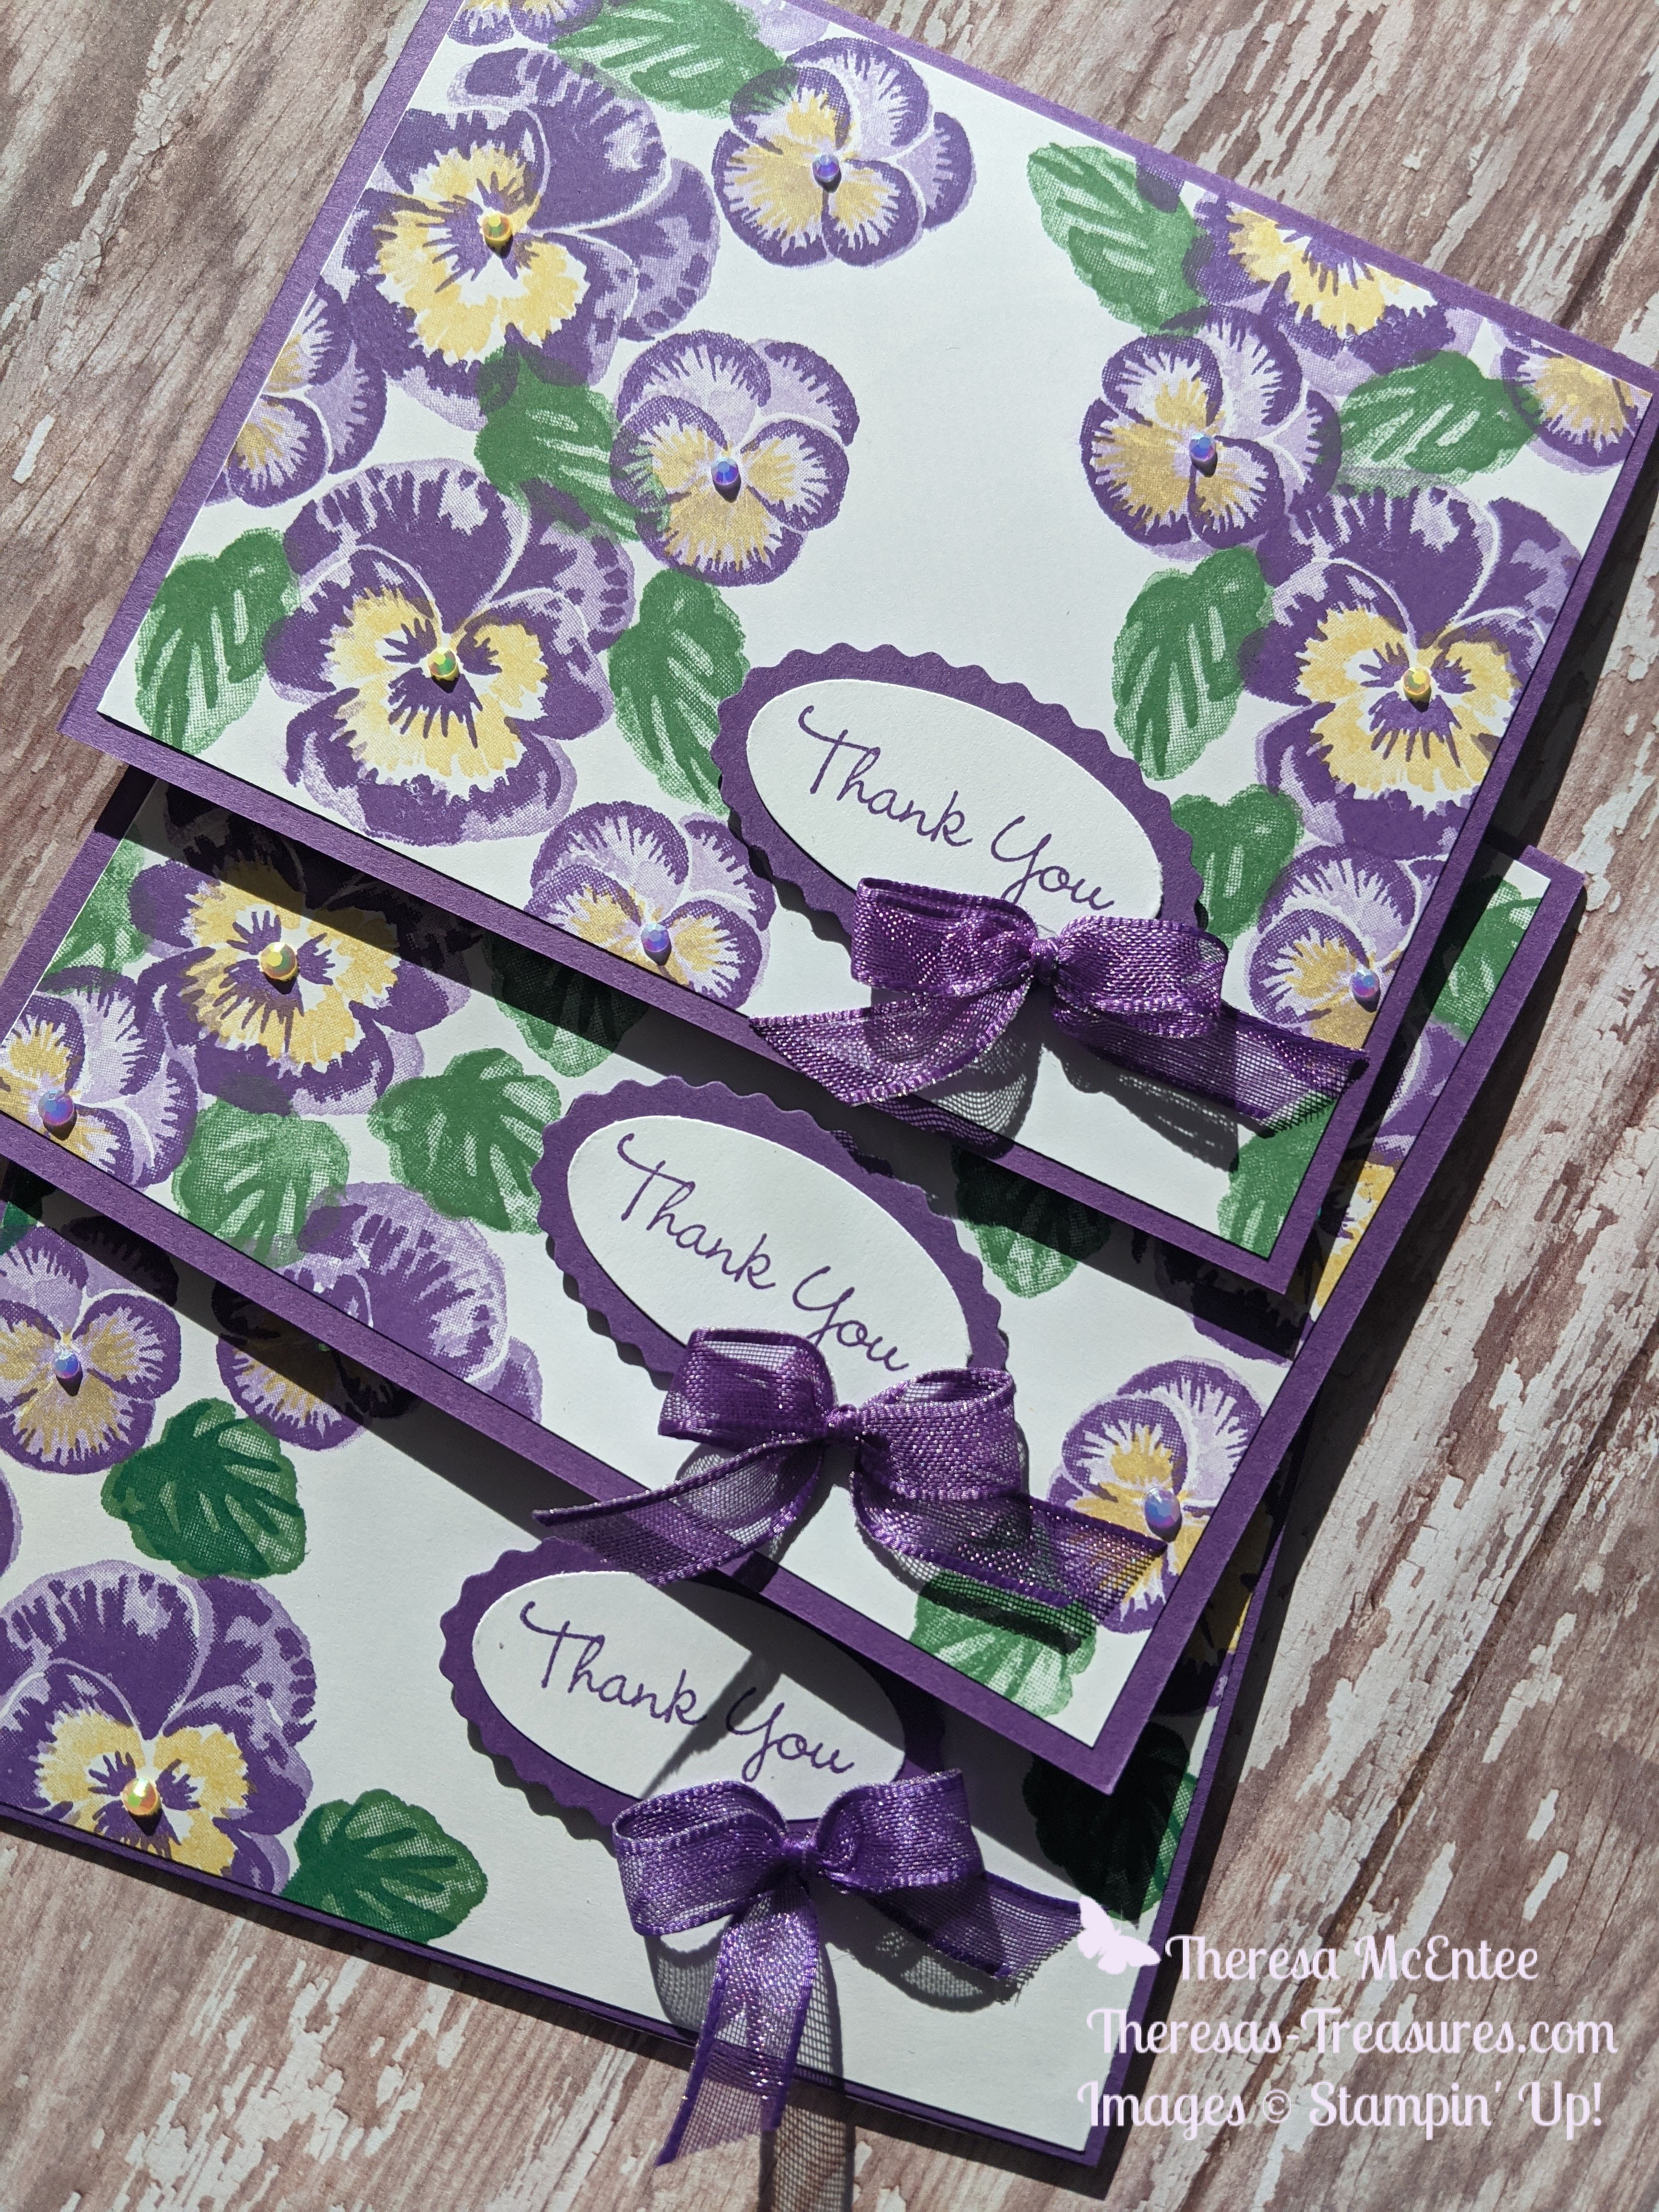
Voila! There you have it. I also did some stamping on the inside panel. The sentiment is from the Pansy Patch stamp set and is cut with the Double Oval Punch. The scalloped oval is also cut with the Double Oval Punch. I added the Gorgeous Grape Sheer Ribbon bow and the 2021-2023 In Color Jewels.

Thanks for stopping by Theresa’s Treasures. Look through the list below to see who is next in line for the Blog Hop.

Supplies

Product List

Thank you and have a wonderful day!

Theresa

Posted in #simplestamping, 2020-2021 Stampin' Up! Catalog

Happy St. Patrick’s Day Card Using Hearts

One of the most fun things about stamping is finding an alternative way to use a stamp. For example the card today is a Happy St. Patrick’s Day Card made with the Stampin’ Up! Valentine’s stamp sets, Heart to Heart and Heartfelt.

I just love how the hearts can be used to make the shamrocks.

Measurements

Measurements: Basic White Card Stock (CS) card base: 5 1/2 x 8 1/2 with a score line at 4 1/4 inches; 6 x 6 inch Designer Series Paper (DSP)-Regals: Garden Green 5 3/8 x 4 1/8 inches; Basic White CS: 5 x 3 3/4 inches and 2 1/2 x 3 1/2 inches; Garden Green CS: 2 1/2 x 3 1/2 inches.

Stamping

Start out by using Garden Green ink to stamp the sentiment “Happy St. Patrick’s Day”. The sentiment comes from the A Wish For Everything stamp set. This is an excellent stamp set for the beginner stamper as it has most of the holidays along with sentiments for the inside of a card. You can purchase the A Wish For Everything HERE.

To start creating the shamrocks, use the large outline heart in the Heartfelt stamp set. Reminder: Use a pad under the Photopolymer stamps to help get the best image. You can use the Stampin’ Pierce Mat like I have, or use the Stampin’ Up! catalog.

Next use the small solid heart in the Heart to Heart stamp set and create the smaller shamrocks.

To finish up I used the stem in the In Bloom stamp set. If you do not have this set, you could also just use the Garden Green Stampin’ Write Marker to make the stems.

Putting the Card Together

That is it for the stamping. Now adhere the stamped card piece to the Garden Green 6 x 6 Designer Series Paper. Then adhere the card piece to the front panel of the Basic White CS card base. Remember to use your Bone Folder on the Basic White CS card base to get a crisp fold.

Punching out the Sentiment

Using the Double Oval Punch, punch a scalloped oval from the 2 1/2 x 3 1/2 inch Garden Green CS. Then use the solid oval to punch out the “Happy St. Patrick’s Day” sentiment. Adhere the Basic White oval to the Garden Green scalloped oval.

Use the Stampin’ Dimensionals to adhere the sentiment to the card front. This is a great card, but you could add some Bling!

Bling!

I thought gold bling! was the most appropriate for this card. The Gold Glitter Enamel Dots fit the bill. I use the Take Your Pick tool to move the dots from the acetate sheet to the card front. The Take Your Pick tool makes this very easy.

Viola! You have made a great St. Patrick’s card complete with Bling!

Supplies

You can purchase everything you need from my Online Store to make this great card by clicking on any one of the photos below.

Product List

Thanks so much for visiting today! I really enjoy making and sharing my cards with you. Is there a particular stamp set you would like me to use? Let me know in the comments and I will try to accommodate you.

Have a wonderful week! I am receiving my first COVID vaccine tomorrow. I may or may not be able to get the Wacky Wednesday blog out. If I am feeling punk, I am going to rest. I will definitely be back next week with a fun technique.

Theresa