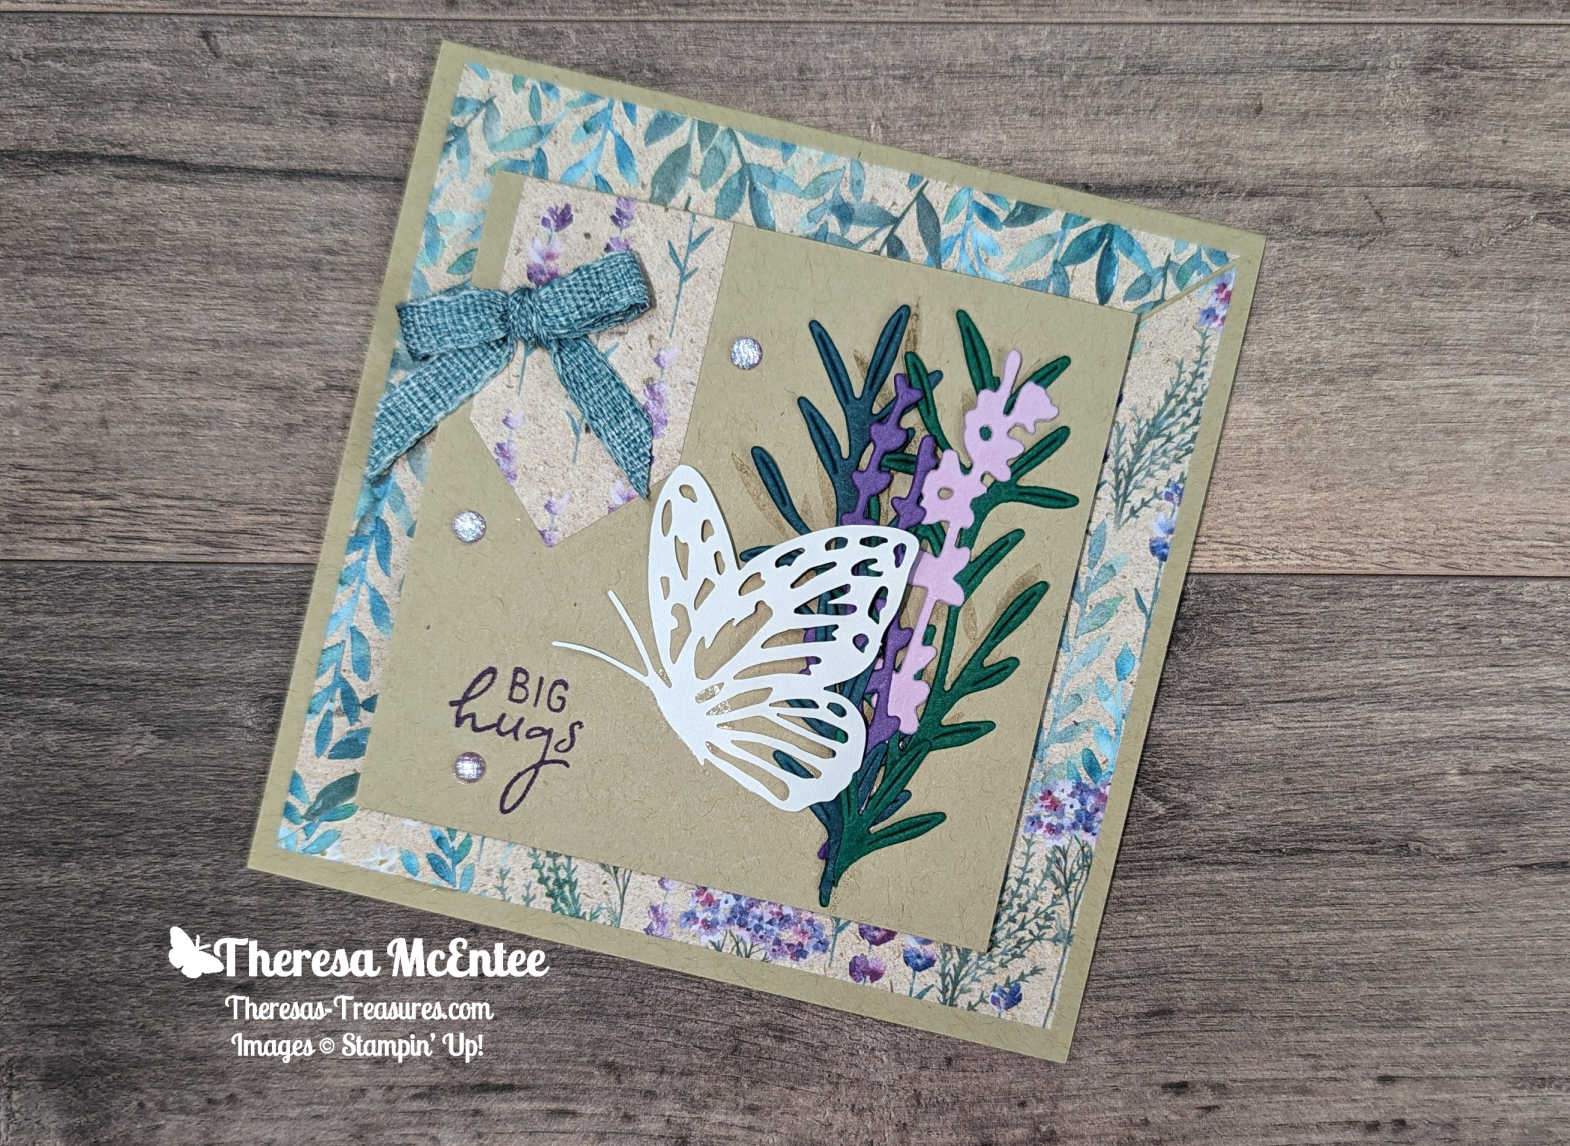
Hello fellow stampers! You are visiting with Theresa McEntee-author of Theresa’s Treasures Paper Crafts. I am hopping with the Ink & Inspiration Blog Hop today. There are several of us- you will find the list to follow the hop at the end of my blog post.
This is both an image and a color challenge. I was inspired by the zipper in the image, closing on winter to a very colorful image with clear skies. I came up with an idea for a Torn Paper Reveal card (also known as a Torn Paper Window or Rolled Torn Paper Reveal card) using some retiring stamps and some product to be released on January 5, 2023 in the Stampin’ Up! 2023 January-April Mini Catalog.
Details
The lovely snowy trees are from the Regal Reindeer stamp set. This stamp set is still available for another week or so in the 2022 July-Dec Mini Catalog. I found the bunny in the Peaceful Deer stamp set. This stamp set is available in the Annual Catalog until the end of April 2023.
Sneak Peek! The flowers of Spring are one of the designs in the Rain or Shine 12 x 12 inch Designer Series Paper. This can be found in the soon to be released 2023 January-April Mini Catalog!
I added extra Bling! to this card with the Rhinestone Basic Jewels and Wink of Stella. The Bling! on the flowers are the Iridescent Pastel Gems! Also a Sneak Peek!
More Inspiration
I hope my projects inspires you to create. You will see more amazing inspirations along the Ink & Inspiration Blog Hop today. Take a look at the list to see who is next-you are currently visiting Theresa McEntee-USA.
The new Fitting Florets Collection is so versatile! Today I will be putting together a fall birthday card. Check out my previous blog, which is a Blog Hop, to see more cards made with the Fitting Florets Collection.
I just love these beautiful fall colors- Merry Merlot, Crushed Curry and Cajun Craze. The pretty butterfly and chrysanthemum paper is the Rustic Harvest Designer Series Paper (DSP) in the 2022 Stampin’ Up! Mini Catalog. Let me show you how to make your own card.
Measurements
Merry Merlot cardstock (cs) card base: 5 1/2 x 8 1/2 inches with a score line at 4 1/4 inches.
Use the Framed Florets Dies to create the butterfly piece by cutting as shown below from the Rustic Harvest DSP.
2. Cut a frame from Merry Merlot cs. Stamp the sentiment in Merry Merlot Ink onto 2 1/4 x 2 1/4 inch Basic White cs. Use the 3rd up from the smallest stitched circle in the Stylish Shapes Dies to cut out the sentiment.
3. Cut out the leaves as shown above from the Crushed Curry, Mossy Meadow and Cajun Craze cs.
4. Stamp the 4 x 5 1/4 inch Basic White cs as shown below. Adhere this to the inside of the Merry Merlot cs card base.
5. Run the 4 x 5 1/4 inch Crushed Curry cs through the Stampin’ Cut & Emboss Machine with the Timeworn 3D Embossing Folder. Adhere this piece to the front of the Merry Merlot cs card base.
5. Adhere the butterfly piece to the center of the card front. Then adhere the Merry Merlot cs frame around the butterfly piece. Next adhere the two Mossy Meadow leaf sprigs as shown.
6. Finish up by adhering the remaining leaves. Use Stampin’ Dimensionals to adhere the sentiment. Add some Gold Adhesive-Backed Swirls.
Hello and welcome to our Stampin’ Up! Demonstrator Training Blog Hop for May 2022. I’m so happy you are joining me today for this blog hop for ideas and creative inspiration. We are a group of Stampin’ Up! Demonstrators from around the world taking part in training to help us build a successful Stampin’ Up! business and reach some goals we have set.
Today I have a quick and simple thank you card made with the Nature’s Prints stamp set and Sun Prints Designer Series Paper(DSP) available in the new 2022-23 Stampin’ Up! Annual Catalog.
Here are all the wonderful patterns in the Sun Prints DSP pack.
You may be starting here or have come from another blog – either way you can find the link list at the bottom of this post so that you can see the great ideas in every blog post today.
Measurements and Supplies- Nature’s Prints Thank You card
Night of Navy Card Stock (CS) card base: 5 1/2 x 8 1/2 inches scored at 4 1/4 inches.
Basic White CS: 3 x 4 inches cut with the Scalloped Contours Dies and 4 x 5 1/4 inches for the inside of the card
Sun Prints DSP: one design: 2 x 5 inches and a second design: 1 3/4 x 3 1/2 inches
Fern 3D Embossing Folder
Pastel Pearls
Night of Navy Ink
Instructions for Nature’s Prints Thank You card
Place the front of the Night of Navy CS card base in the Fern 3D Embossing Folder and run it through the Stampin’ Cut & Emboss Machine.
Ink up the leaf image with Night of Navy Ink and stamp on the left lower corner of the Scalloped Contour Die cut.
Use the Night of Navy Ink again to ink the sentiment “A Heartfelt Thank You” and stamp in the top portion of the Scalloped Contour Die cut.
Adhere the 2 x 5 inch Sun Print DSP to the left hand side of the card front, about 3/4 inch from the left edge.
Using Stampin’ Dimensionals adhere the 1 3/4 x 3 1/2 inch Sun Print DSP so that about 1/2 inch of the first layer of Sun Print DSP shows on the bottom.
Use Stampin’ Dimensionals on the top half of the back of the stamped Scalloped Contour Die cut and adhesive for the bottom half. Adhere to the card front.
Apply the blue Pastel Pearls as desired.
Instructions for inside of card
Use the flower image with the Night of Navy Ink and stamp into the upper left and lower right corners of the 4 x 5 1/4 inch Basic White CS.
Stamp the fern in the corners as well.
Voila! You have a beautiful quick and simple Thank You card!
Remember to visit everyone’s blog to see all the creative inspiration from around the world. You are currently at Theresa McEntee-Theresa’s Treasures-USA.
Supply List
Click on the product you want and you will get to my Online store!
Thank you for joining me today for our Stampin’ Up!® Demonstrator Training Program Monthly Blog Hop! I am so excited to show you a Thank You card made with product from the new 2021-2022 Stampin’ Up! Annual Catalog! Be sure to visit all the blogs and see all the different thank you cards from around the world! I know you will get lots of ideas and creative inspiration!
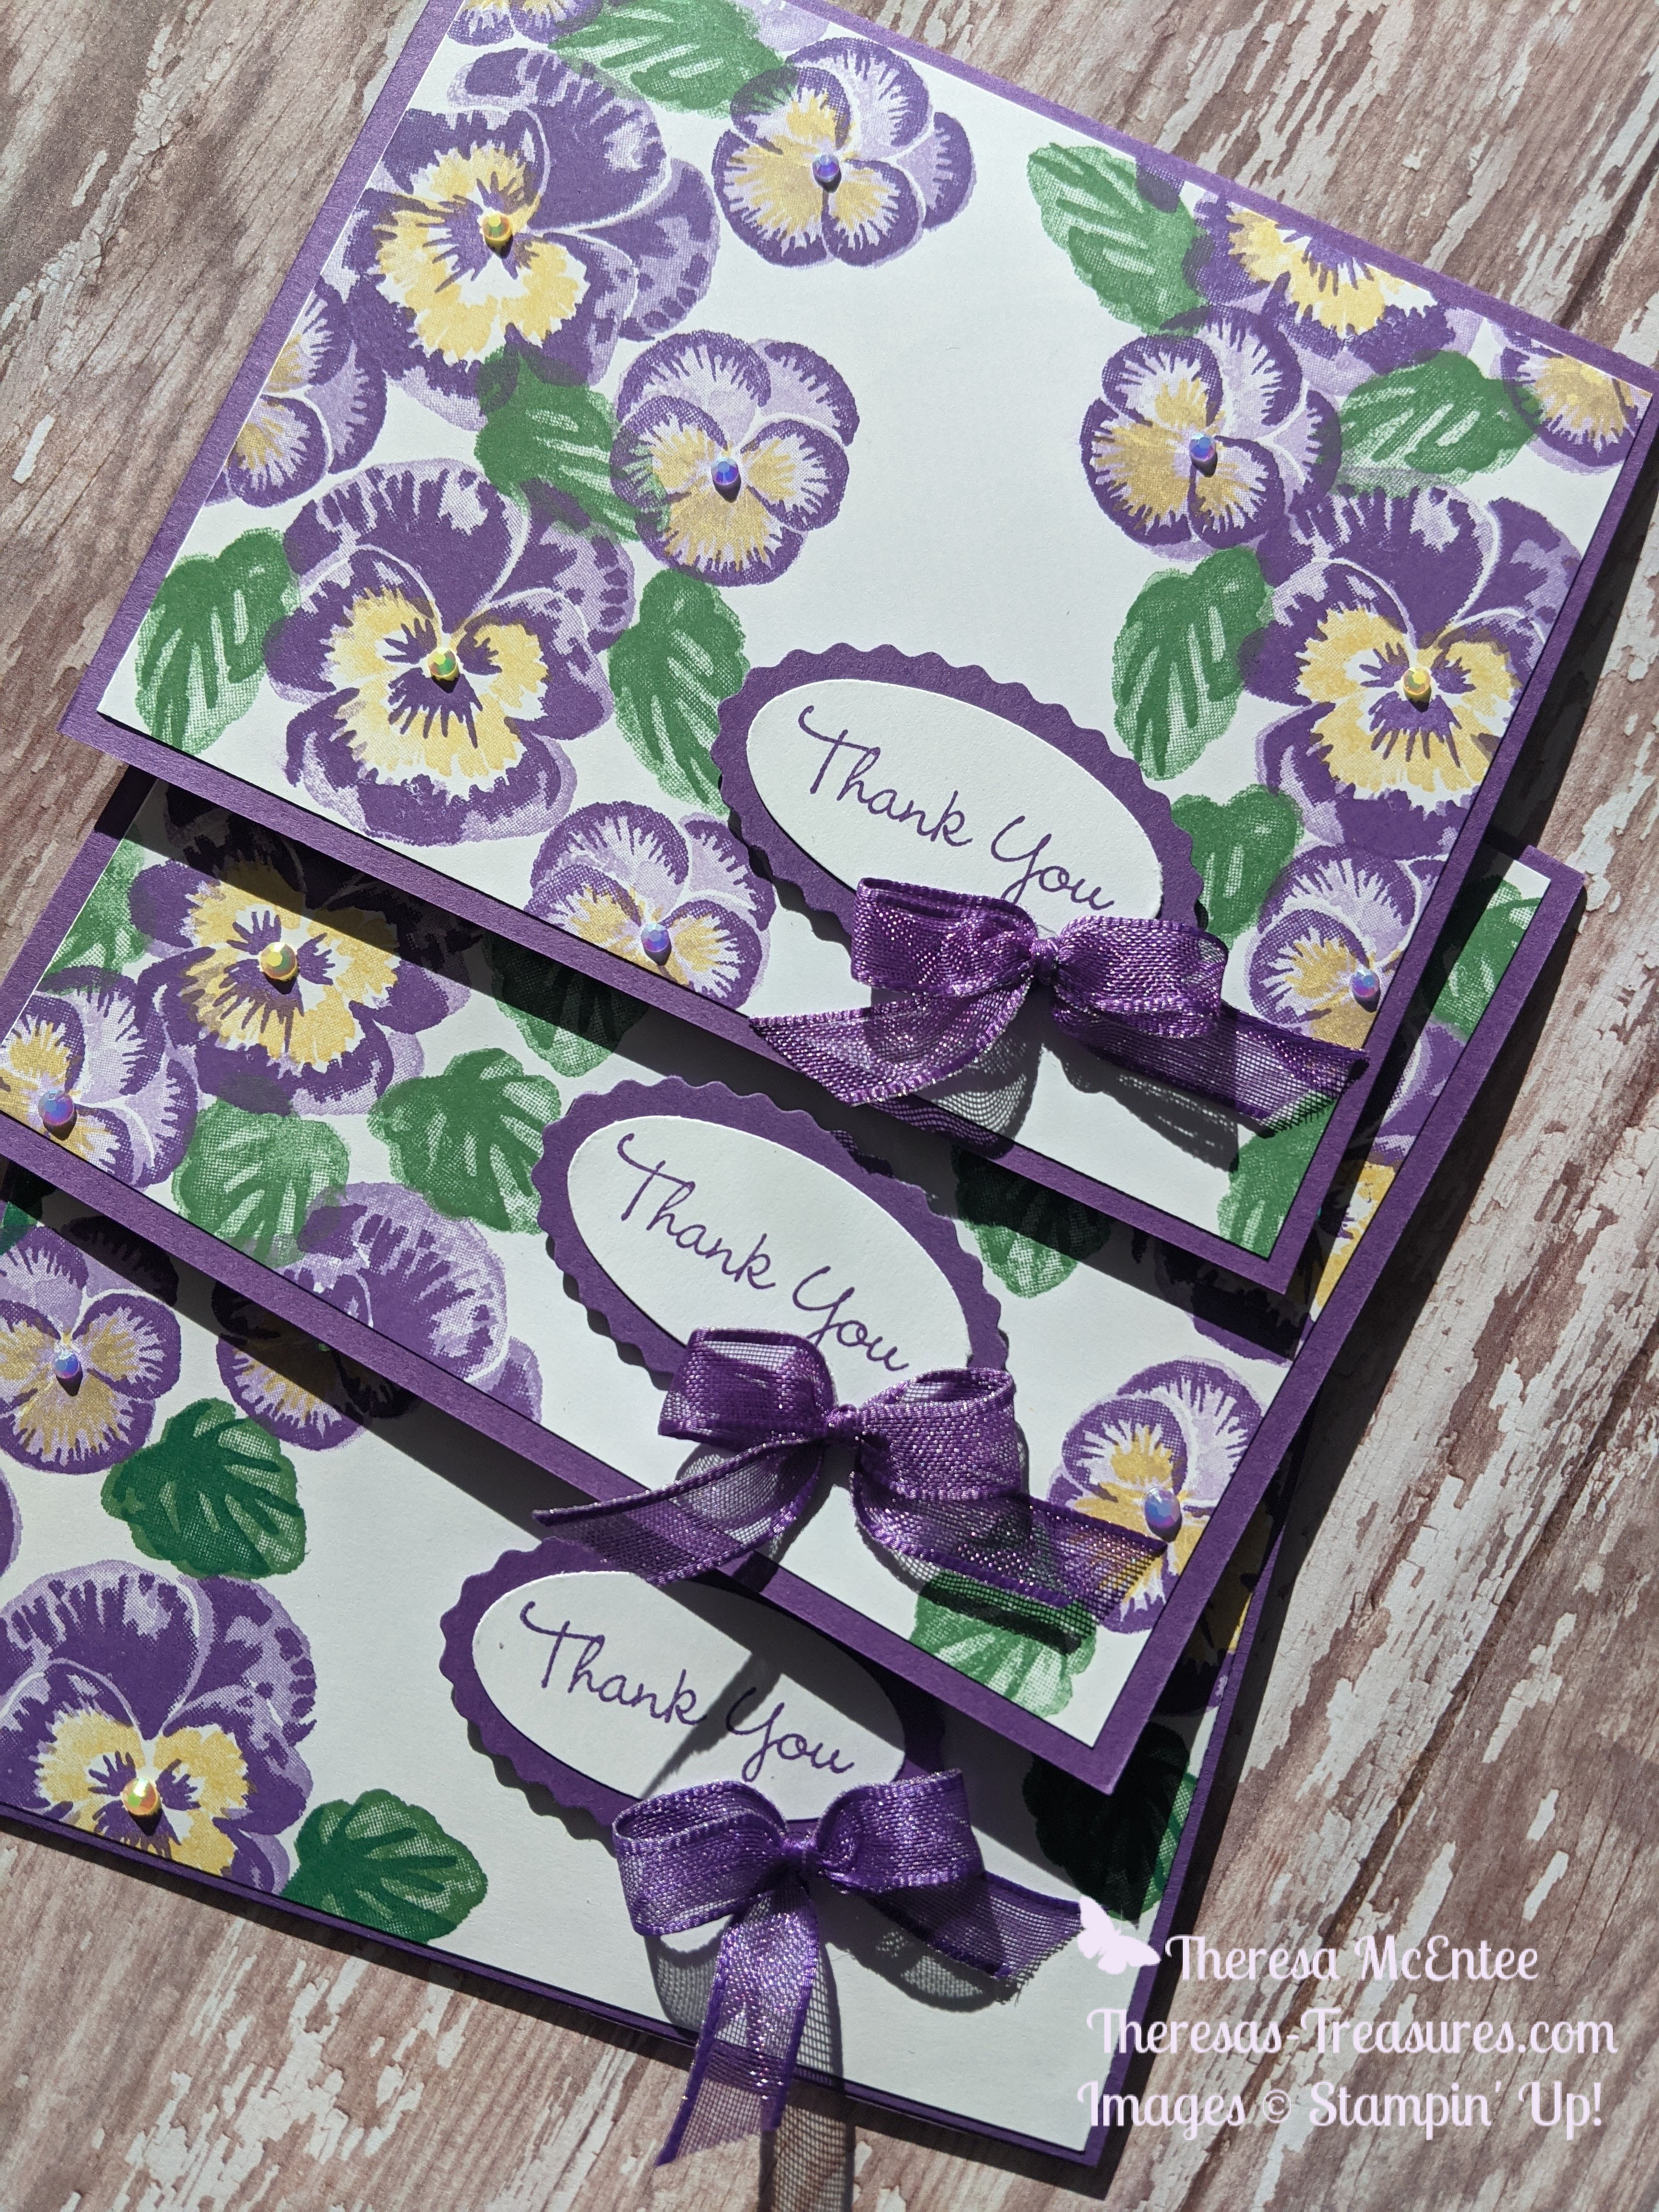
The theme for the cards today is: Thank You. I am grateful to have customers who support me and I send them a Thank You card every once in awhile. The following set of cards is for my fabulous customers who order during the month of May.
This card was so fun to make. It required a lot of layered stamping, so it is probably better for the more experienced stamper. The Pansy Patch stamp set uses up to 4 layers of stamping to create these lovely pansies. Here’s how I did it.
Stamping
The first step is to use the background stamp for the largest flower and stamp in Highland Heather ink.
Next I stamped the background stamp for the smaller pansy in Highland Heather ink. I then stamped the second layer for the larger pansy in Gorgeous Grape ink, right over the first layer.
Continuing with the Gorgeous Grape ink I stamped the second layer of the small pansies. The center for the large pansy is then stamped in Daffodil Delight ink.
Finishing up with the Daffodil Delight ink I stamped the center of the small pansies. There is one more layer for the larger pansy which I stamped in Gorgeous Grape ink.
For the leaves I Stamped Off once with Garden Green ink to make the background layer. The second layer of the leaves is stamped at full strength.
Finished Card
Voila! There you have it. I also did some stamping on the inside panel. The sentiment is from the Pansy Patch stamp set and is cut with the Double Oval Punch. The scalloped oval is also cut with the Double Oval Punch. I added the Gorgeous Grape Sheer Ribbon bow and the 2021-2023 In Color Jewels.
Thanks for stopping by Theresa’s Treasures. Look through the list below to see who is next in line for the Blog Hop.
I believe you can always add some sunshine to your day by thanking somebody. Gratitude has a way of not only making the recipient feel good, but also the well-wisher. Today’s card is a super simple and beautiful card to send out a word of thanks.
The Inspiring Iris is a Two Step Stamp. I love the beautiful script font the sentiments are written in. This card is a Simple Stamping card because it uses primarily ink, stamps and paper.
Measurements: Whisper White Card Stock (CS): 5 1/2 x 8 1/2 inch card base with a score line at 4 1/4 inches, two 4 x 5 1/4 inches and 2 1/4 x 3 1/2 inches; Gorgeous Grape CS: 2 3/4 x 4 1/2 inches; and 6 x 6 inch Designer Series Paper Assortments-Brights-Gorgeous Grape: 2 x 4 inches.
Use Memento Black ink to stamp the outline of the irises onto the 2 1/4 x 3 1/2 inch Whisper White CS. Be sure to use the Stampin’ Pierce Mat or a catalog. Stamp the leaves in Granny Apple Green ink. Do not worry that the leaves do not exactly line up. Being offset a little is part of the design. i think this looked best when I tried lining up the top of the stems.
Stamp the body of the irises in Gorgeous Grape ink.
Stamp the sentiment “Thanks” in Gorgeous Grape ink onto the card piece with the irises. Then stamp the sentiment “You are somebody who makes everybody feel like somebody” in Gorgeous Grape ink onto one of the 4 x 5 1/4 inch Whisper White CS.
To fancy up the inside of the card, stamp the little flowers in Gorgeous Grape ink. The two darker flowers are stamped at full strength and the lighter one is Stamped Off. The center of the flower is Stamped Off for the darker flowers, and at full strength for the lighter Stamped Off flower. The body of the leaves is stamped in Granny Apple Green without using an outline.
Adhere the 2 3/4 x 4 1/2 inch Gorgeous Grape CS to the left side of the second 4 x 5 1/4 inch Whisper White CS, keeping the distance from the edge of the Whisper White equal on 3 sides, about 1/4 inch. Adhere the 2 x 4 inch Gorgeous Grape Designer Series Paper to the right side, about 1/4 inch from the right edge.
Apply Stampin’ Dimensionals to the back of the irises. Alternatively, the iris piece can be adhered flat to the card front.
Fold the 5 1/2 x 8 1/2 inch Whisper White CS card base at the 4 1/4 inch score line and use the Bone Folder to get a crisp fold. Adhere the iris card piece to the front of the card, then adhere the whole piece to the front of the card base.
Adhere the card piece with the sentiment to the inside of the card base.
Viola! That is all there is to making this wonderful card! You can stop here or….
You can add a little Bling! The Pearl Basic Jewels are great for this card.
I used the Take Your Pick tool to transfer 3 Pearl Basic Jewels in decreasing size to the lower left corner of the Gorgeous Grape CS.
Viola! Same wonderful card now with a little Bling! Either way, this is a nice card to send to someone to thank them for being a great person!
Thank you so much for coming by today and learning how to put together this beautiful card. Please leave a comment below letting me know what you think.
Click on any photo below to go to my Online Store.
The colors for the card today were inspired by a recent sunset here in Bisbee Arizona. We often have fiery yellow, orange and red sunsets. This one was a little different being in pink and purple hues.
The beautiful pinks and purples in this card are sure to lift someone’s spirits.
Measurements: Rich Razzleberry Card Stock (CS) card base: 8 1/2 x 5 1/2 inches with a score line at 4 1/4 inches; Whisper White CS: two 5 1/4 x 4 inches and 1/2 x 6 inches. Stampin’ Up! ink colors: Rococo Rose, Rich Razzleberry, Blackberry Bliss, Granny Apple Green, Crumb Cake, Bumble Bee.
I want to show you a trick using a variation of the Masking Technique. With this technique you can use just a part of the stamp. I have the stamp upside down so I can apply the ink and see that it is applied evenly. I applied Rococo Rose ink to the part I did not want to use and stamped it on a sticky note. (Hover over the underlined words for a definition).
I repeated the process for the flower on the bottom left.
Cut very close to the edge on the portion that abuts the rest of the stamp. Tape the images upside down onto the stamp with painters tape. Note: the sticky note images are mirror images of the original stamp. That is why they need to be upside down to match the stamp.
Apply Rococo Rose ink to the stamp including over the sticky paper. Remove the sticky paper carefully so you do not disturb the ink on the rest of the stamp.
Now when you stamp the image onto one of the 5 1/4 x 4 inch Whisper White CS, the flower that was covered with the sticky paper will not stamp onto the paper. Cool, eh?
For the stamp in the upper right-hand corner, I just rotated the stamp to get the image I wanted.
I added some small leaves in Granny Apple Green ink. The smaller flowers are stamped in Rich Razzleberry ink. The center to the large flower is stamped in Crumb Cake ink after Stamping Off once.
The center of the smaller flower is stamped in Bumble Bee ink. I stamped the tiny flowers in Blackberry Bliss ink. I had so much fun creating this bouquet! Note: Initially I Stamped Off the center of the smaller flowers, but then felt it was too light. I went back and stamped at full strength. Try it both ways and you decide which you like.
Stamp the sentiment “Get Well Soon” onto the 1/2 inch Whisper White CS strip and use the Timeless Label Punch as shown to get the rounded ends.
Now for the inside of the card. On the second 5 1/4 x 4 inch Whisper White CS, stamp the large bunch of flowers in Rococo Rose ink down the right side of the CS. Add the leaves in Granny Apple Green ink.
Finish the bouquet using the same ink colors as you did for the card front.
Adhere the card front to the front panel of the 8 1/2 x 5 1/2 inch Rich Razzleberry CS. Be sure to use your Bone Folder to make a crisp fold at the 4 1/4 inch score line. Adhere the inside panel.
I adhered the sentiment to the card front with Stampin’ Dimensionals. However, I decided I did not like it because it was too small. To remove it, I used the Paper Snips to snip each of the Dimensionals and remove the sentiment. Often you can then carefully remove the Dimensionals so that it looks like nothing was ever there.
I stamped the sentiment “Get Well Soon” onto a 1 x 6 inch piece of Whisper White CS and added some of the tiny flowers and leaves.
I adhered the sentiment with Stampin’ Dimensionals. I felt this looked a lot better.
Viola! Here is a nice cheerful Get Well card! This is better than sending flowers because the card will last forever! (Actually, I would still like the flowers too.)
Thanks so much for stopping by today. I hope you are doing well and staying safe.
There is still time to take advantage of Bonus Days! From now until August 3, 2020 your $50 order will earn you a $5 coupon to use on your next order in August! Don’t delay! Shop HERE.
Believe it or not, this card is made only with stamping! The Blossoms in Bloom stamp set by Stampin’ Up! lends itself to some beautiful bouquets. And the sentiments make this set so versatile! The colors were inspired by Lorraine’s Color Challenge. The colors are so bright and cheerful!
Measurements:Calypso Coral Card Stock (CS): 8 1/2 x 11 inches with a score line at 4 1/4 inches; Whisper White CS: two 5 1/4 x 4 inches and a 1/2 x 8 1/2 inch strip. The ink colors I used are: Mango Melody, Calypso Coral, Granny Apple Green, Bumble Bee and Magenta Madness.
For the large blooms stamp, I apply the ink with the stamp upside down on the table. I find it to be easier to see that the ink is evenly applied.
Stamp onto the 5 1/4 x 4 inch Whisper White CS using Mango Melody ink. Use the heel of your hand to apply even pressure to the center of the blooms to help the ink go onto the paper more evenly.
I added the center of the Mango Melody flowers in Calypso Coral ink. The center is Stamped Off. Next, the leaves are stamped in Granny Apple Green ink.
The five-petaled flowers are stamped in Magenta Madness ink. There are two different designs for the five-petaled flowers. I did the three in the middle with one design, and the two on the outer edges with the other design. Stamp the center of the five-petaled flowers in Bumble Bee ink. I did not Stamp Off but later thought that may look better.
I stamped the tiny five-petaled flowers in Calypso Coral ink. There are also two designs for the tiny five-petaled flowers. I just mixed them as I stamped. I tried to stick with an odd number of each of the colors of flowers. Generally, the odd number is more pleasing to the eye than an even number.
The “Happy Birthday” sentiment is stamped in Calypso Coral ink. I trimmed the strip of Whisper White CS, then cut a banner end as shown.
Adhere the stamped card piece to the front of the 8 1/2 x 5 1/2 inch Calypso Coral CS. Use Stampin’ Dimensionals to adhere the sentiment.
I used the 2020-2022 In Color Enamel Dots to add a little embellishment next to the sentiment. I find it easy to transfer the small dots with the Take Your Pick tool.
For this card I decided to stamp the inside panel as well. Start with the Mango Melody ink and the large blooms stamp. I stamped a little to the side so there would be space for writing.
I added the center for the Mango Melody flowers in Calypso Coral after Stamping Off. The leaves are in Granny Apple Green ink. The center of the Magenta Madness five-petaled flowers is stamped in Bumble Bee ink after Stamping Off.
Add the tiny five-petaled flowers in Calypso Coral ink.
Adhere the inside card piece to the inside of the Calypso Coral CS card base.
And Viola! you have a brightly colored Happy Birthday card to send to someone special! This card is sure to send some cheer!
Thanks for visiting today.
Right now you can purchase $50 USD in product and get a $5 USD coupon to use on your order in August! How cool is that?! Click HERE to get to my online store, or click on any photo below.
The new Stampin’ Up! Annual Catalog for 2020-2021 will be mailed out on May 8, 2020. If you would like a copy, shoot me an email at theresastreasures.az@gmail.com. There are many products that will be retiring and some are now at a great discount. Check the “Last Chance Products” tab in the left hand column at my online store here.
This card started off as a Color Challenge I wanted to be in. A Color Challenge is when someone gives you one or more colors to use in a card. You can create whatever you want. The inspiration also came from wanting to use the retiring stamp sets once more.
Today I mainly used the Painted Harvest stamp set. However, the sentiment is from Piece of Cake and the bee is from Honey Bee.
Measurements: Whisper White Card stock (CS): 8 1/2 x 5 1/2 inches with a score line at 4 1/4 inches, 4 1/4 x 3 inches, 2 1/2 x 1 1/2 inches and a 3 x 1/2 inch strip: Lovely Lipstick CS: 5 7/8 x 4 1/8 inches; and Blushing Bride CS: 4 1/4 x 3 inches.
The Painted Harvest stamp is Two Step Stamp. This means that there are two slightly different stamps that are intended to be stamped on top of one another. These are the two stamps for the sunflower. I am starting with the less detailed stamp on the left.
Stamp three of the sunflowers in a cascade down the 4 1/4 x 3 inch Whisper White CS using Blushing Bride ink.
Switch to the other more detailed stamp of the sunflower. Use Lovely Lipstick ink to stamp right on top of the Blushing Bride flowers.
Using the same detailed sunflower, stamp in Lovely Lipstick along the outside borders of the Lovely Lipstick CS. I call this Tone on Tone because you use the same color for the paper and the ink.
Use Soft Suede ink to stamp the center of the sunflowers.
The leaf is also a Two Step Stamp. I have tried stamping with the more detailed leaf or with the less detailed leaf first. For this stamp I think it is easier to line up the stamps when I start with the more detailed leaf and finish with the less detailed leaf stamp.
Stamp the sentiment “Happy Birthday” and the bee on the corresponding Whisper White CS in Memento ink.
Color the stripes on the bee with the Pineapple Punch Stampin’ Write Marker. Fussy cut the bee (or if you have the Detailed Bee Dies you can cut the bee out with the die).
Trim the sentiment “Happy Birthday” and then we will make a banner end. Make a small center cut.
Now make a cut from one corner to the top of the center cut. Repeat on the other side.
Make another banner on the other end of the sentiment strip.
Use the Bone Folder to get a nice crisp fold at the 4 1/4 inch score line on the 8 1/2 x 5 1/2 inch Whisper White CS. This is the card base. Adhere the Lovely Lipstick background card piece to the front of the card base.
Adhere the 4 1/4 x 3 inch Blushing Bride CS at a slant on top of the Lovely Lipstick background. Now adhere the sunflower card piece parallel to the Lovely Lipstick card piece.
Oops! I got some Soft Suede ink in the wrong place. This happens when the edge of the clear block gets inked. No worries. You can always fix this with either a sentiment over the top or Bling. I put the “Happy Birthday” right over the mistake and no one is the wiser!
Add the cute little bee and Viola! You have a wonderful Birthday card ready to go!
Thanks so much for coming by today! I wish you a great day and hope you are well and safe!
I am an Independent Stampin’ Up!® Demonstrator and I would love to help you pick out just what you need to make that special card or put together a project. This blog is intended for the beginning stamper so there are basic tips included. I hope you find some time to be creative! Let me know via email if you need help putting your order together at theresastreasures.az@gmail.com.
The supplies I used are pictured below. If you want to order something, just click on the photo and you will go directly to my Online Store. Have a lovely day!